Mongoose 101: Working with subdocuments
You learned how to use Mongoose on a basic level to create, read, update, and delete documents in the previous tutorial. In this tutorial, we’ll go a step further into subdocuments
In Mongoose, subdocuments are documents that are nested in other documents. You can spot a subdocument when a schema is nested in another schema.
Note: MongoDB calls subdocuments embedded documents.
const childSchema = new Schema({
  name: String
});

const parentSchema = new Schema({
  // Single subdocument
  child: childSchema,

  // Array of subdocuments
  children: [childSchema]
});
In practice, you don’t have to create a separate childSchema like the example above. Mongoose helps you create nested schemas when you nest an object in another object.
// This code is the same as above
const parentSchema = new Schema({
  // Single subdocument
  child: { name: String },

  // Array of subdocuments
  children: [{name: String }]
});
Updating characterSchema
Let’s say we want to create a character called Ryu. Ryu has three special moves.
- Hadoken
- Shinryuken
- Tatsumaki Senpukyaku
Ryu also has one ultimate move called:
We want to save the names of each move. We also want to save the keys required to execute that move.
Here, each move is a subdocument.
const characterSchema = new Schema({
  name: { type: String, unique: true },
  // Array of subdocuments
  specials: [{
    name: String,
    keys: String
  }]
  // Single subdocument
  ultimate: {
    name: String,
    keys: String
  }
})
You can also use the childSchema syntax if you wish to. It makes the Character schema easier to understand.
const moveSchema = new Schema({
  name: String,
  keys: String
})

const characterSchema = new Schema({
  name: { type: String, unique: true },
  // Array of subdocuments
  specials: [moveSchema],
  // Single subdocument
  ultimate: moveSchema
})
There are two ways to create documents that contain subdocuments:
- Pass a nested object into
new Model - Add properties into the created document.
Method 1: Passing the entire object
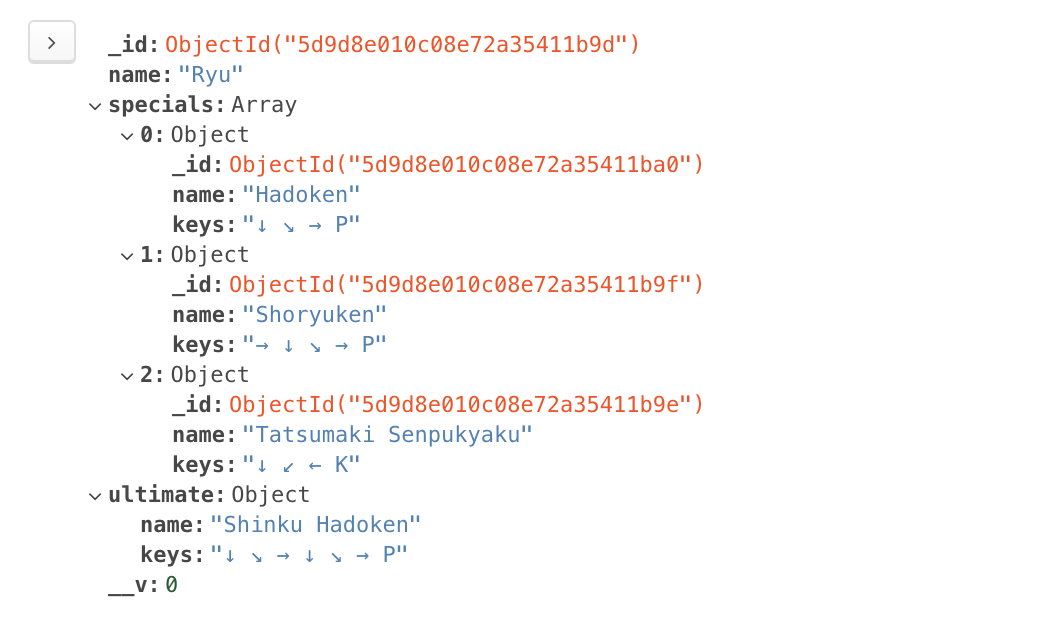
For this method, we construct a nested object that contains both Ryu’s name and his moves.
const ryu = {
  name: 'Ryu',
  specials: [{
    name: 'Hadoken',
    keys: '↓ ↘ → P'
  }, {
    name: 'Shoryuken',
    keys: '→ ↓ ↘ → P'
  }, {
    name: 'Tatsumaki Senpukyaku',
    keys: '↓ ↙ ← K'
  }],
  ultimate: {
    name: 'Shinku Hadoken',
    keys: '↓ ↘ → ↓ ↘ → P'
  }
}
Then, we pass this object into new Character.
const char = new Character(ryu)
const doc = await char.save()
console.log(doc)

For this method, we create a character with new Character first.
const ryu = new Character({ name: 'Ryu' })
Then, we edit the character to add special moves:
const ryu = new Character({ name: 'Ryu' })
const ryu.specials = [{
  name: 'Hadoken',
  keys: '↓ ↘ → P'
}, {
  name: 'Shoryuken',
  keys: '→ ↓ ↘ → P'
}, {
  name: 'Tatsumaki Senpukyaku',
  keys: '↓ ↙ ← K'
}]
Then, we edit the character to add the ultimate move:
const ryu = new Character({ name: 'Ryu' })

// Adds specials
const ryu.specials = [{
  name: 'Hadoken',
  keys: '↓ ↘ → P'
}, {
  name: 'Shoryuken',
  keys: '→ ↓ ↘ → P'
}, {
  name: 'Tatsumaki Senpukyaku',
  keys: '↓ ↙ ← K'
}]

// Adds ultimate
ryu.ultimate = {
  name: 'Shinku Hadoken',
  keys: '↓ ↘ → ↓ ↘ → P'
}
Once we’re satisfied with ryu, we run save.
const ryu = new Character({ name: 'Ryu' })

// Adds specials
const ryu.specials = [{
  name: 'Hadoken',
  keys: '↓ ↘ → P'
}, {
  name: 'Shoryuken',
  keys: '→ ↓ ↘ → P'
}, {
  name: 'Tatsumaki Senpukyaku',
  keys: '↓ ↙ ← K'
}]

// Adds ultimate
ryu.ultimate = {
  name: 'Shinku Hadoken',
  keys: '↓ ↘ → ↓ ↘ → P'
}

const doc = await ryu.save()
console.log(doc)

The easiest way to update subdocuments is:
- Use
findOneto find the document - Get the array
- Change the array
- Run
save
For example, let’s say we want to add Jodan Sokutou Geri to Ryu’s special moves. The keys for Jodan Sokutou Geri are ↓ ↘ → K.
First, we find Ryu with findOne.
const ryu = await Characters.findOne({ name: 'Ryu' })
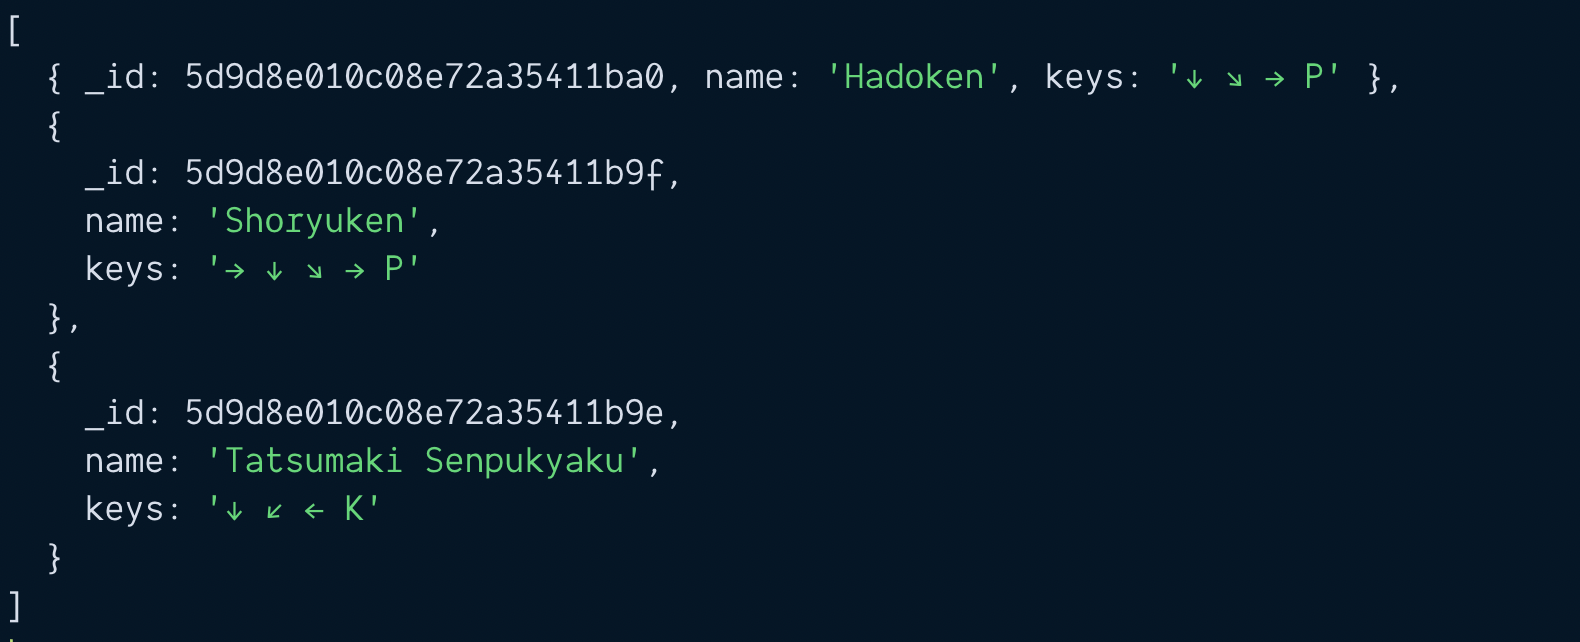
Mongoose documents behave like regular JavaScript objects. We can get the specials array by writing ryu.specials.
const ryu = await Characters.findOne({ name: 'Ryu' })
const specials = ryu.specials
console.log(specials)

This specials array is a normal JavaScript array.
const ryu = await Characters.findOne({ name: 'Ryu' })
const specials = ryu.specials
console.log(Array.isArray(specials)) // true
We can use the push method to add a new item into specials,
const ryu = await Characters.findOne({ name: 'Ryu' })
ryu.specials.push({
  name: 'Jodan Sokutou Geri',
  keys: '↓ ↘ → K'
})
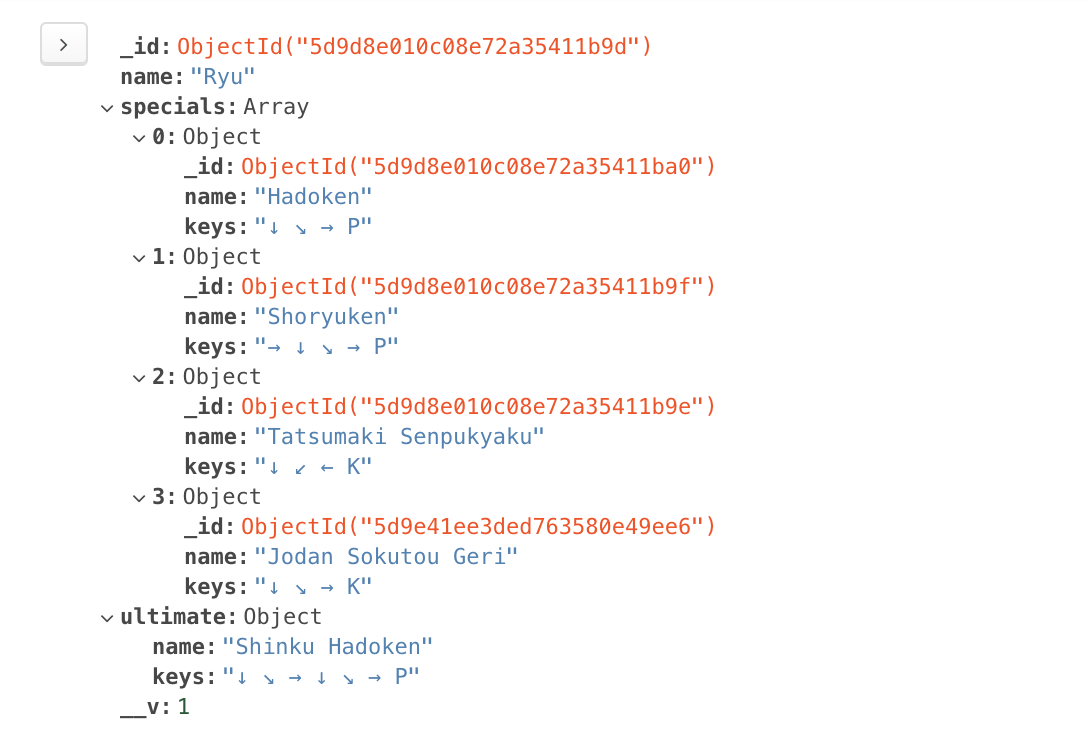
After updating specials, we run save to save Ryu to the database.
const ryu = await Characters.findOne({ name: 'Ryu' })
ryu.specials.push({
  name: 'Jodan Sokutou Geri',
  keys: '↓ ↘ → K'
})

const updated = await ryu.save()
console.log(updated)

It’s even easier to update single subdocuments. You can edit the document directly like a normal object.
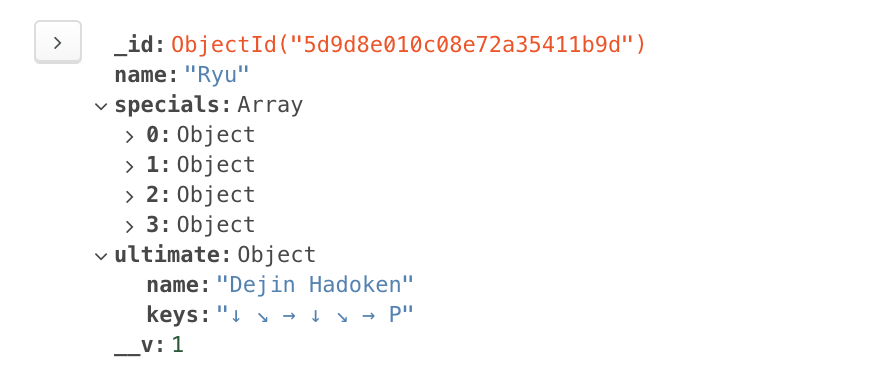
Let’s say we want to change Ryu’s ultimate name from Shinku Hadoken to Dejin Hadoken. What we do is:
- Use
findOneto get Ryu. - Change the
nameinultimate - Run
save
const ryu = await Characters.findOne({ name: 'Ryu' })
ryu.ultimate.name = 'Dejin Hadoken'

const updated = await ryu.save()
console.log(updated)

Thanks for reading. This article was originally posted on my blog. Sign up for my newsletter if you want more articles to help you become a better frontend developer.
