How to Create and Publish an npm module in TypeScript
Introduction
In this article, we are going to see how we can build a module with TypeScript that both JavaScript developers and TypeScript developers can use.
Most npm modules come without a Type definition, so TypeScript developers will have to run an additional npm i @types/<module_name> -D command to be able to use the npm module. Here, we will see how to create an npm module in TypeScript “importable” in JavaScript and TypeScript.
What is npm?
npm is an online registry for open-source node.js projects, modules, resources, etc. You can find it at http://npmjs.org.
npm is the official package manager for node.js and provides a command line interface (CLI) for interacting with the registry. This utility comes bundled with node.js and is installed automatically. For API documentation, visit https://npmjs.org/doc/ or just type npm in your terminal.
Installing Node.js
Head to the Node.js download page and grab the version you need. There are Windows and Mac installers available, as well as pre-compiled Linux binaries and source code. For Linux, you can also install Node via the package manager, as outlined here.
Let’s see where node was installed and check the version.
node -v
v6.10.0
The Node.js installation worked, so we can now focus our attention on npm, which was included in the install.
npm -v
3.10.10
Node.js Module
Module in Node.js is a simple or complex functionality organized in single or multiple JavaScript files, which can be reused throughout the Node.js application.
Each module in Node.js has its own context, so it cannot interfere with other modules or pollute the global scope. Also, each module can be placed in a separate .js file under a separate folder.
Node.js implements CommonJS modules standard. CommonJS is a group of volunteers who define JavaScript standards for web server, desktop, and console applications.
Let’s build a module that returns the plural form of any noun.
Create a GitHub repo
- Create a new repo on GitHub and call it mypluralize (make sure you check the README box, add a . gitignore file for Node, and a MIT license)
- Clone it locally
git clone https://github.com/philipszdavido/mypluralize.git
Initialize a npm package
When you create a new module, you want to describe your package with the package.json file.
npm init
This command will ask you some questions to generate a package.jsonfile in your project route that describes all the dependencies of your project. This file will be updated when adding further dependencies during the development process, for example, when you set up your build system.
name: (project-name) project-name
version: (0.0.0) 0.0.1
description: The Project Description
entry point: //leave emptytest
command: //leave empty
git repository: //the repositories url
keywords: //leave empty
author: // your name
license: N/A
After you’ve finished the process of initializing your project using the Node Package Manager, node.js created a package.jsonfile in your project's root directory similar to this one:
{ "name": "project-name", "version": "0.0.1", "description": "Project Description", "main": "index.js", "scripts": { "test": "echo \"Error: no test specified\" && exit 1" }, "repository": { "type": "git", "url": "the repositories url" }, "author": "your name", "license": "N/A"}
If you want to skip the above questions, you can use
npm init -y
It will use only defaults and not prompt you for any options.
Set Your npm Defaults
npm set init.author.name “Chidume Nnamdi”
npm set init.author.email “kurtwanger40@gmail.com”
npm set init.author.url “http://twitter.com/ngArchangel"
Your credentials will be now saved to a ~/.npmrc file and used as defaults whenever you initialize a npm package, so you don’t have to enter them each time.
Installing Dependencies
Now that you have a working Node project, move into the folder
cd mypluralize
Our package.json, should look like this.
{ "name": "mypluralize", "version": "1.0.1", "description": "A Node.js module that returns the plural form of any noun", "main": "index.js", "repository": { "type": "git", "url": "git+https://github.com/philipszdavido/mypluralize.git" }, "keywords": [], "author": "Chidume Nnamdi <kurtwanger40@gmail.com>", "license": "ISC", "bugs": { "url": "https://github.com/philipszdavido/mypluralize/issues" }, "homepage":"https://github.com/philipszdavido/mypluralize#readme"}
Install TypeScript
Next, let us install TypeScript
npm i typescript -D
Configure our tsconfig file
Next, we'll create the tsconfig.json file. The presence of a tsconfig.json file in a directory indicates that the directory is the root of a TypeScript project. The tsconfig.json file specifies the root files and the compiler options required to compile the project.
You can create the file manually, then make it look like this.
{ "compilerOptions": { "target": "es5", "module": "commonjs", "declaration": true, "outDir": "./dist", "strict": true }}
You can generate the tsconfig.json file automatically using the tsc — init. To be able to use tsc globally, run the commands
npm i -g typescript -Dnpm i -g typings -D
Then, generate the tsconfig.json
tsc --init
If you don’t have TypeScript installed globally in your system, our previous command
npm i typescript -D
installed tsc locally in the node_modules folder, so we can reference the file path
./node_modules/.bin/tsc --init
We can just use tsc --init because tsc has a cmd in the node_modules/.bin folder.
Now, if you used this method, make sure your generated tsconfig.json looks like this
{ "compilerOptions": { "target": "es5", "module": "commonjs", "declaration": true, "outDir": "./dist", "strict": true }}
“target”: “es5” => Specify ECMAScript target version: ‘ES3’ (default), ‘ES5’, ‘ES2015’, ‘ES2016’, ‘ES2017’, or ‘ESNEXT’.> “module”: “commonjs” => Specify module code generation: ‘none’, commonjs’, ‘amd’, ‘system’, ‘umd’, ‘es2015’, or ‘ESNext’.> “declaration”: true => Generates corresponding ‘.d.ts’ file.> “outDir”: “ dist” => Redirect output structure to the directory.
Writing our Node module
Create a lib folder and a index.ts file inside of it.
mkdir lib && touch index.ts
Add the following code to your index.ts. Before that, we will need the help of an npm module pluralize, so let's pull it into the show.
npm i pluralize -S
index.ts
import * as pluralize from 'pluralize'
/*** @Method: Returns the plural form of any noun.* @Param {string}* @Return {string}*/export function getPlural (str: any) : string { return pluralize.plural(str)}
Notice, our IDE (VS Code, Atom, Sublime Text) will signal a type error here.
import * as pluralize from 'pluralize
'Could not find a declaration file for module ‘pluralize’.
This is because the pluralize module doesn’t have a ‘.d.ts’ file. To fix this issue, we run this command.
npm i @types/pluralize -D
These pull the definition files and place it in the @types folder in our node_modules folder. You’ll notice that after pulling in the definition files, the errors are gone.
Building our project
We will modify our package.json to include script that builds our code.
{ "name": "mypluralize", "version": "1.0.1", "description": "A Node.js module that returns the plural form of any noun", "main": "index.js", "scripts": { "build": "tsc" }, "repository": { "type": "git", "url": "git+https://github.com/philipszdavido/mypluralize.git" }, "keywords": [], "author": "Chidume Nnamdi <kurtwanger40@gmail.com>", "license": "ISC", "bugs": { "url": "https://github.com/philipszdavido/mypluralize/issues" }, "homepage":"https://github.com/philipszdavido/mypluralize#readme" , "devDependencies": { "typescript": "^2.5.3" }, "dependencies": { "@types/pluralize": "0.0.27", "pluralize": "^7.0.0" }}
We can run
npm run build
Voila! Our code is now compiled to JavaScript!! A new dist directory is created with index.js and index.d.ts files in it. The index.js contains all the logic that we coded, compiled to JavaScript, and index.d.ts is the file that describes the types of our module for use in TypeScript. Lets make some changes to our package.json file.
Change the main attribute to point to ‘dist/index.js’>. Create a ‘types’ attribute and set the value to ‘dist/index.d.ts’.
{ "name": "mypluralize", "version": "1.0.1", "description": "A Node.js module that returns the plural form of any noun", "main": "dist/index.js", "types" : "dist/index.d.ts", "scripts": { "build": "tsc" }, "repository": { "type": "git", "url": "git+https://github.com/philipszdavido/mypluralize.git" }, "keywords": [], "author": "Chidume Nnamdi <kurtwanger40@gmail.com>", "license": "ISC", "bugs": { "url": "https://github.com/philipszdavido/mypluralize/issues" }, "homepage":"https://github.com/philipszdavido/mypluralize#readme" , "devDependencies": { "typescript": "^2.5.3" }, "dependencies": { "@types/pluralize": "0.0.27", "pluralize": "^7.0.0" }}
Write some tests
We are going to use the Mocha testing framework and Chai assertion library.
npm i mocha -Dnpm i chai -D
Create a test folder and test.js file in it.
mkdir test && touch test/test.js
test.js
'use strict';var expect = require('chai').expect;var index = require('../dist/index.js');
describe('getPlural function test', () => { it('should return Boys', () => { var result = index.getPlural('Boy'); expect(result).to.equal('Boys'); }); it('should return Girls', () => { var result = index.getPlural('Girl'); expect(result).to.equal('Girls'); }); it('should return Geese', () => { var result = index.getPlural('Goose'); expect(result).to.equal('Geese'); }); it('should return Toys', () => { var result = index.getPlural('Toy'); expect(result).to.equal('Toys'); }); it('should return Men', () => { var result = index.getPlural('Man'); expect(result).to.equal('Men'); });});
Run our tests
Add a test script to our package.json.
"scripts": { "build": "tsc", "test": "mocha --reporter spec"}
Let’s run our test script.
npm run test

Mocha test run
Write our readme
# mypluralizeA Node.js module that returns the plural form of any noun
Installation
shnpm install mypluralize --saveyarn add mypluralizebower install pluralize --save```
JavaScript
javascriptvar pluralise = require('mypluralize');var boys = pluralise.getPlural('Boy');``````shOutput should be 'Boys'```
TypeScript
typescriptimport { getPlural } from 'mypluralize';console.log(getPlural('Goose'))``````shOutput should be 'Geese'```
AMD
javascriptdefine(function(require,exports,module){ var pluralise = require('mypluralize');});```
Test
shnpm run test
Commit and push to Git
git add .
git commit -m “Initial release”
git tag v1.0.1
git push origin master --tags
Publish to npm
Before we publish our code, there are some unnecessary folders and files to exclude from the installation of our module. The lib folder shouldn’t be published. Create a .npmignore file and add the following contents
.npmignore
lib/
We are set to publish our module. Run the command:
npm publish
Note
- Make sure that there isn’t already a package with the same name.
To publish, you must be a user on the npm registry. If you don’t have one, create it with npm adduser. If you created one on the site, use npm login to store the credentials on the client.
Test: Use npm config ls to ensure that the credentials are stored on your client. Check that it has been added to the registry by going to https://npmjs.com/~.
If everything went well, you will see something like this in your cmd.

npm publish success
Adding Continuous Integration
We will be using Travis CI for our continuous integration. Follow the steps below to integrate Travis CI to your project.
- Navigate to Travis CI.

Travis CI
- Click on ‘Sign in with GitHub’.
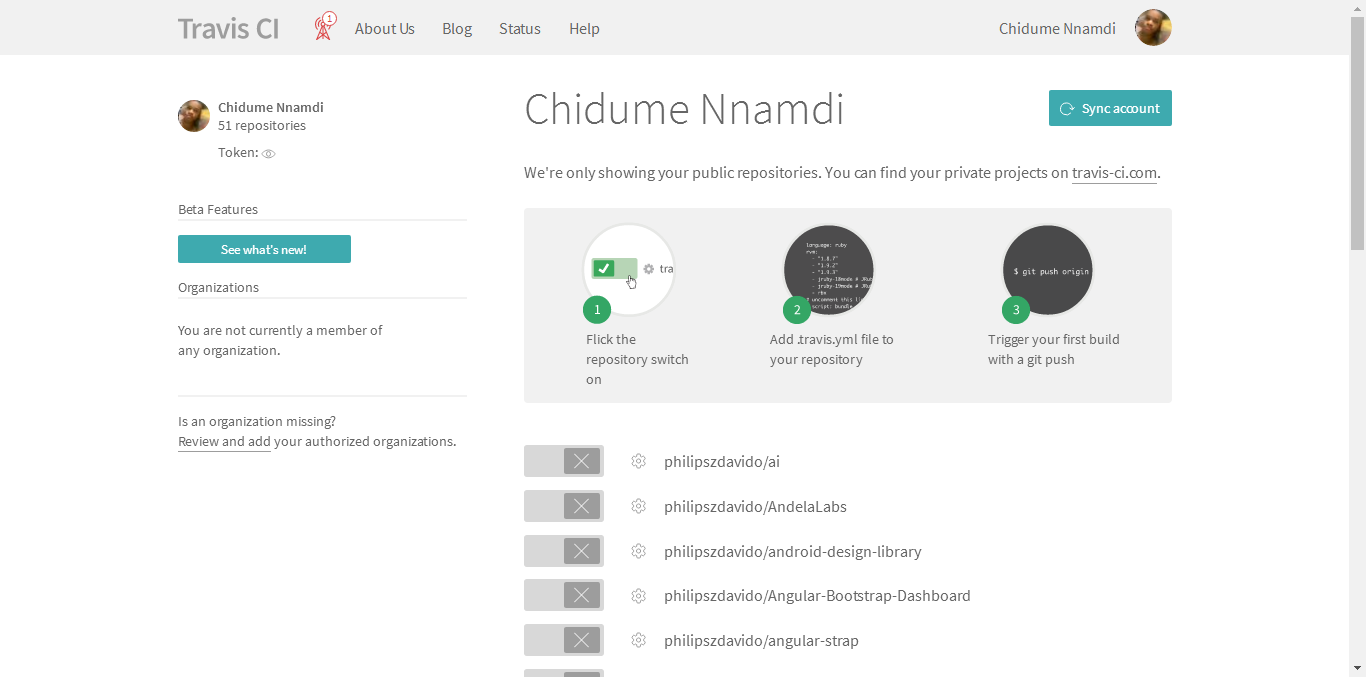
- Flick the repository switch on.

- Add .travis.yml to your repo.
language : node_jsnode_js : - stableinstall: - npm installscript: - npm test
- Commit and push to git.
Pushing to git will trigger your first build. Log in to Travis to see your build status.


Add Coverage Data
Coveralls is a hosted analysis tool that provides statistics about your code coverage. Coveralls is a web service to help you track your code coverage over time and ensure that all your new code is fully covered.
There is but one prerequisite for Coveralls Cloud (Coveralls Enterprise can use a variety of repo-hosting options):
The Coveralls service is language-agnostic and CI-agnostic, but we haven’t yet built easy solutions for all the possibilities as far as repo hosting. Creating an account is fast and easy, just click the “Sign in” button for your git service (you can link accounts later) and authorize Coveralls to access your repos — no forms to fill out.
Log in to Coveralls with your GitHub account, click the “ADD REPO ” button, and toggle the switch to enable the repo for which you want code coverage statistics.

Get code coverage with Istanbul
There are many tools to analyze code coverage, but I find Istanbul simple and effective, so that’s what we’ll use here.
First, install Istanbul and coveralls as a devDependency:
npm i istanbul -Dnpm i coveralls -D
We’ll make an npm run for our code coverage. Here’s the script we’ll add:
"cover": "istanbul cover node_modules/mocha/bin/_mocha test/*.js - - -R spec"
So now your package.json should have both scripts:
"scripts": { "test": "mocha --reporter spec", "cover": "istanbul cover node_modules/mocha/bin/_mocha test/*.js -- -R spec" },
Update your .travis.yml file to this
language : node_js
node_js : - stable
install: - npm install
script: - npm run cover
# Send coverage data to Coverallsafter_script: "cat coverage/lcov.info | node_modules/coveralls/bin/coveralls.js"
Now you can run your tests and code coverage stats from your command line with
npm run cover
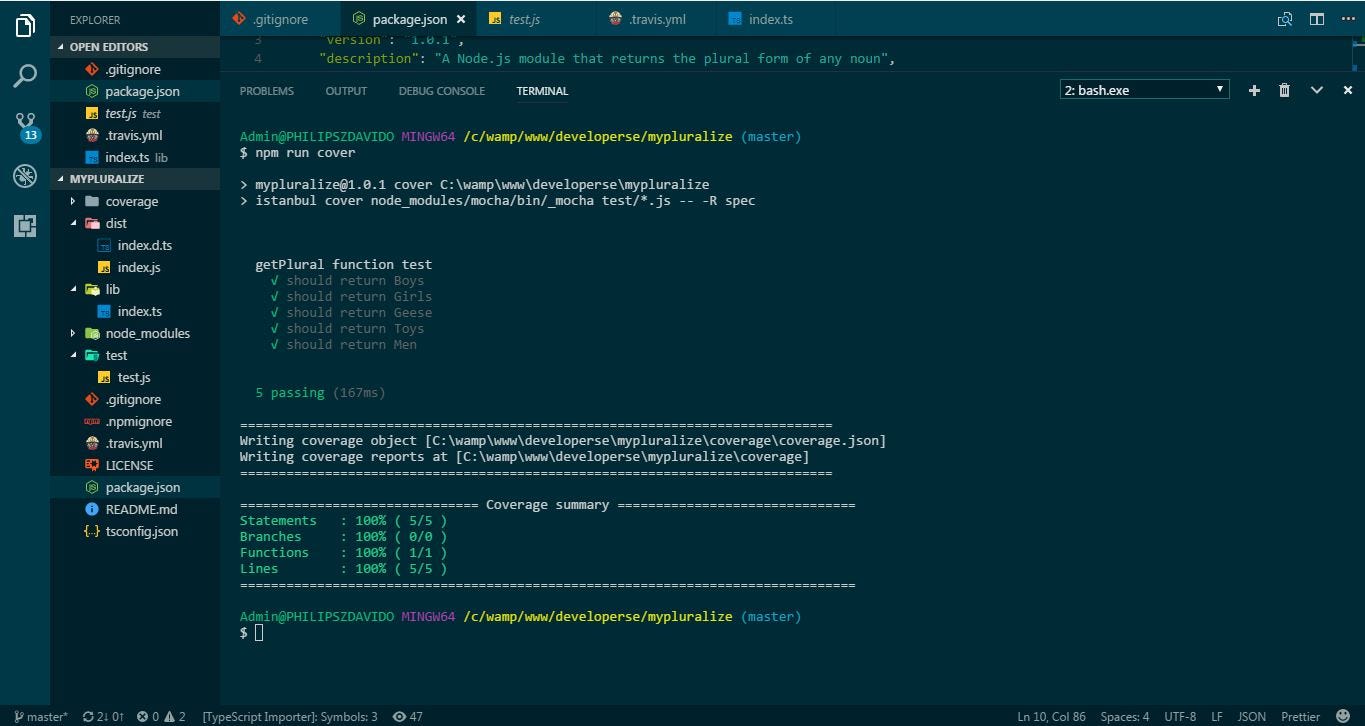
Now, commit and push to GitHub.
Travis will now invoke Istanbul, and Istanbul will run an lcovonly code coverage report. Save that info to coverage/lcov.info, and pipe that data to the Coveralls library.
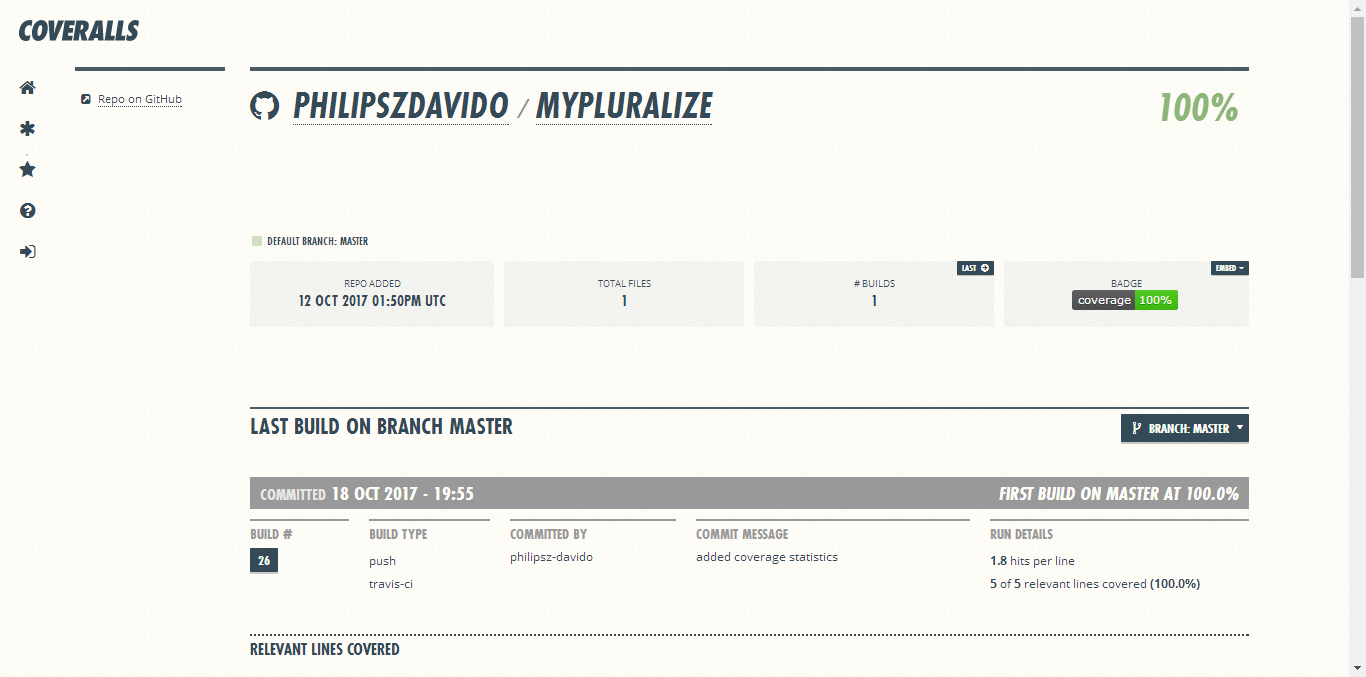
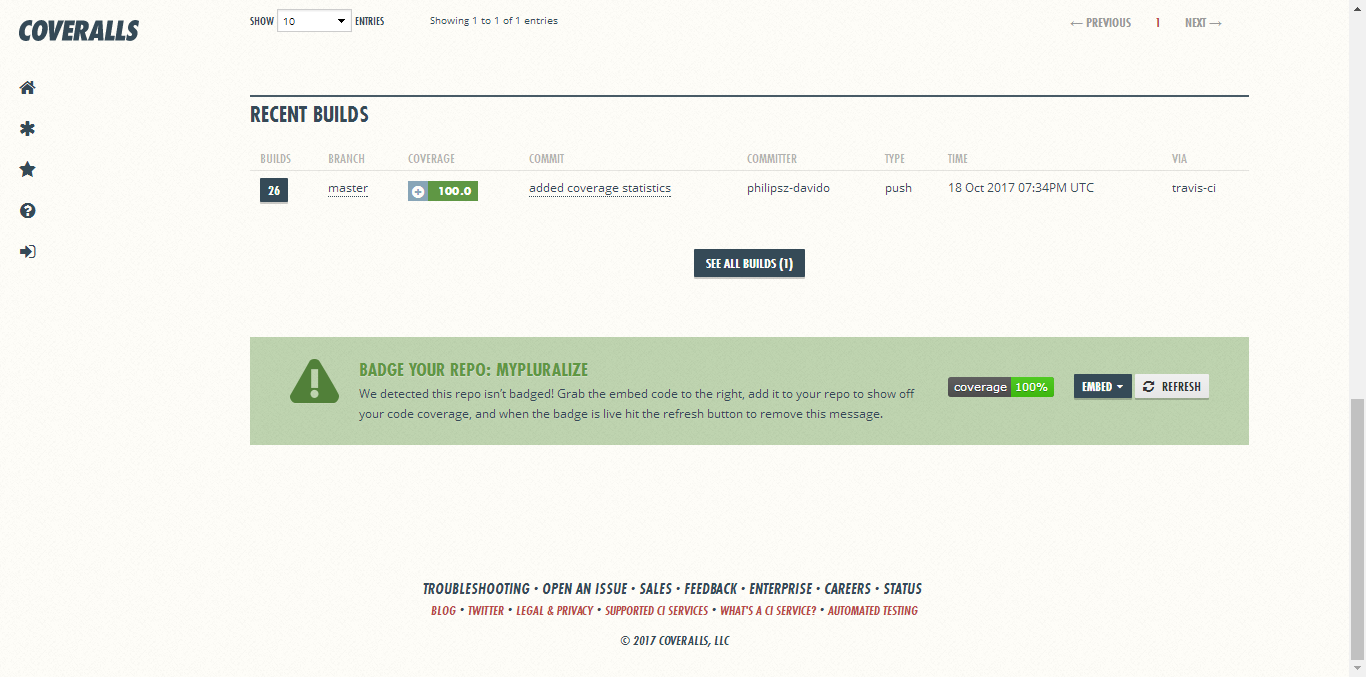
Log in to Coveralls to check and see if everything executed smoothly.
Adding some badges
Let's get them on our Git and npm repos.
Travis
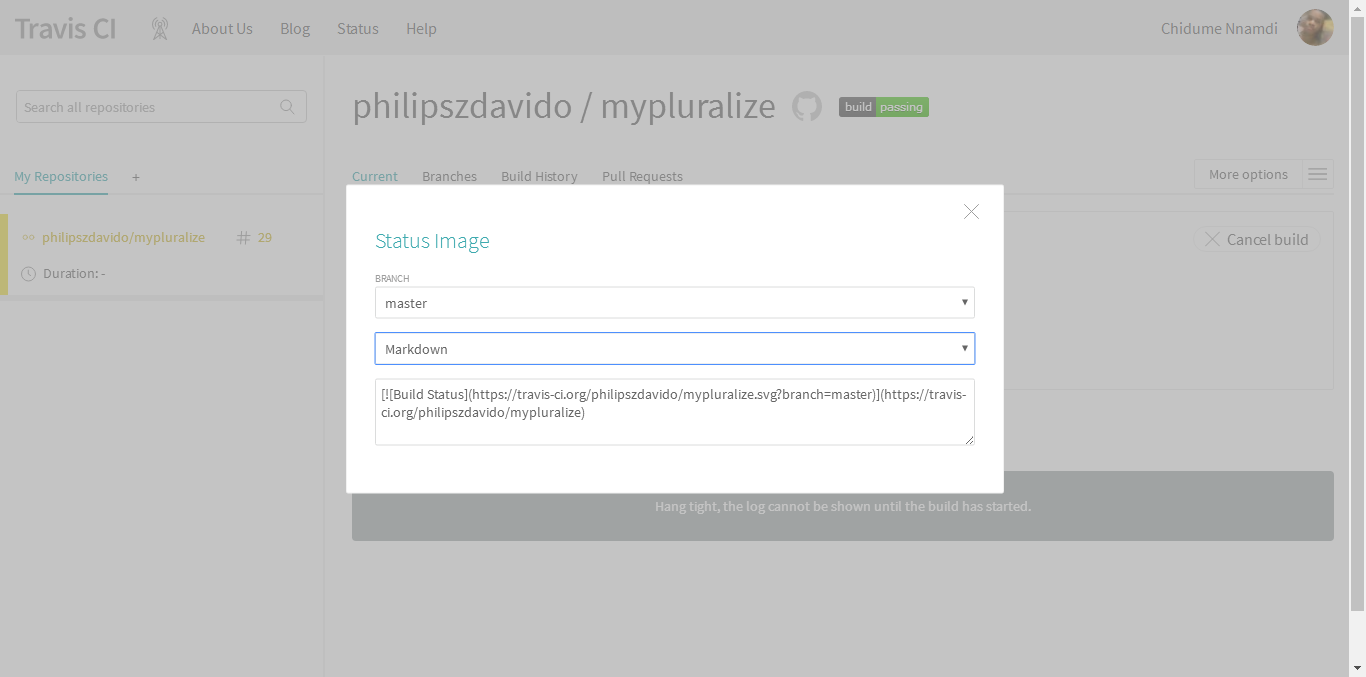
Click on the settings toggle next to your repo on Travis CI, and click on the badge icon.
Choose Markdown and add the code to your README.
Coveralls
Log in to Coveralls, click on your repo, click the “ BADGE URLS ” dropdown, and add the Markdown code to your README.

Commit and push to GitHub.
Travis will run your tests, and you can see your build status in your GitHub README.
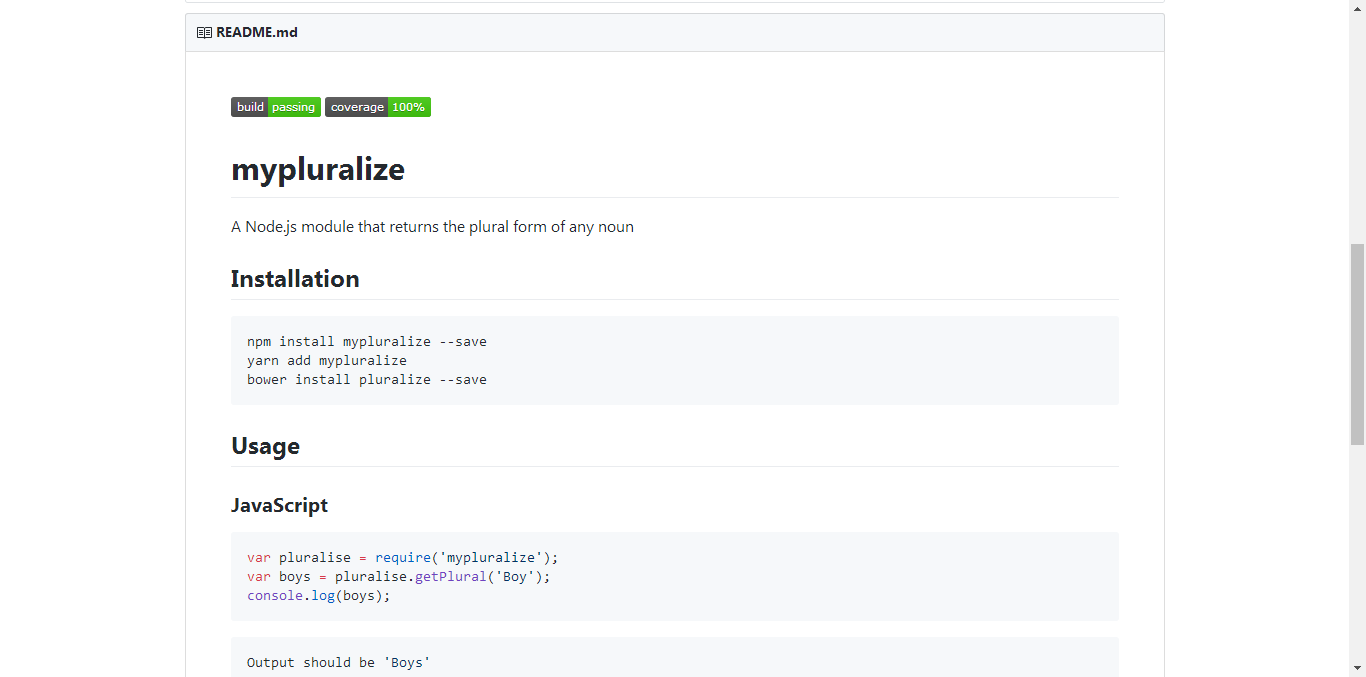
We need to get them on npm. To do that, we are going to release a new version. That is the only way to push your changes to npm.
npm version patch -m "Version %s - add sweet badges"
%s = the new version number.
This command will bump the version number in package.json , add a new commit, and tag it with this release number.
Note : Your Git working directory has to be clean before you can run npm version.
After bumping the version number,
git push && git push --tags (or git push origin master --tags)
npm publish
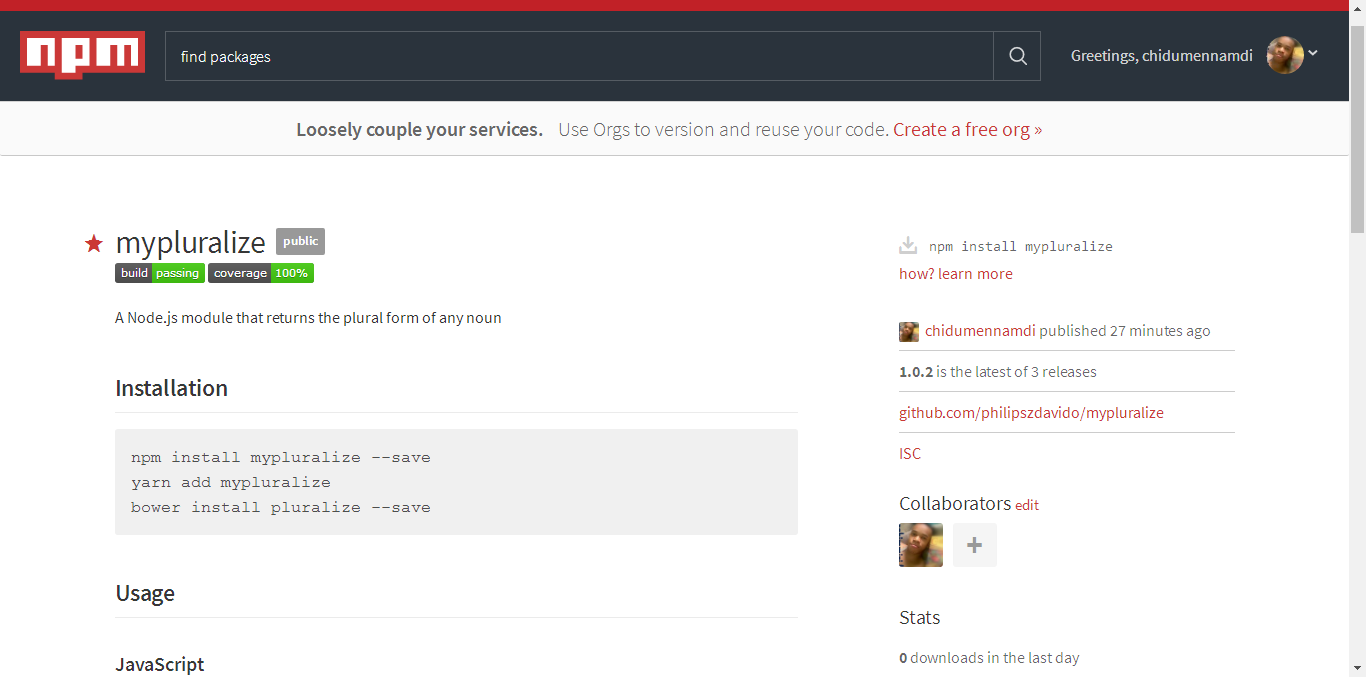
Now, if you go to your published module on npm, you should see your new release with the two sweet badges!
Conclusion
We have succeeded in writing and publishing an npm module in TypeScript. The great thing that we achieved here is that our module can now be seamlessly used in JavaScript or TypeScript projects without any need to run:
npm i @types/mypluralize -D
Feel free to reach out if you have any problems.
Code in Github
- You can find the full source code in my GitHub repo
Special thanks to
- Joanne for giving me an insight into Continuous Integration.
- Rowland Ekemezie for showing and guiding me on how to become a professional writer/developer.
- Grammarly.com for proof-reading.
Follow me on Medium and Twitter to read more about TypeScript, JavaScript and Angular.
