Deploying to a server via SSH and Rsync in a Github Action
I wanted to use Github Actions to deploy zellwk.com — when I push a commit into Github, I want Github Actions to build my site and deploy to my Digital Ocean server.
The hardest part of this process is deploying to the server with SSH and rsync. I tried various Github actions like SSH Deploy and SSH Action, but I couldn’t get the permissions to work for A LONG TIME.
I found most articles about Github actions and SSH didn’t help me much. I got stuck with debugging for a few days before I finally figured out how to make the process work.
Today, I want to share the exact steps to deploy via rsync and SSH. This process works for any server, even if you don’t use Digital Ocean.
Step 1: Generate an SSH Key
You can generate the SSH key either on your local computer or on your server. It doesn’t matter since we can delete the key afterwards, but I recommend doing this on the server so you can reuse your SSH key for other Github Actions.
In this case we’ll SSH into the server.
ssh [email protected]
Once you’re in the server, navigate to the .ssh folder. We will generate the SSH key here.
cd ~/.ssh
When we generate the SSH Key, we cannot use the default instructions on Github’s generating an SSH key page. This is because Github Actions doesn’t support the latest Ed22159 algorithm. We need to use the legacy command instead.

So here’s the command you need to use. Remember to replace [email protected] with your email address.
ssh-keygen -t rsa -b 4096 -C "[email protected]"
Note: Some Github Action authors said we need the PEM format for SSH keys to work. This is false. I’ve tested with the standard RSA format (which I recommended above) and it works.
Next we need to name the SSH Key file. Here, I don’t recommend using the default file name (which is id_rsa). I recommend switching the file name to github-actions so we know this key is used for Github Actions. It pays to be explicit when you view your SSH keys 6 months down the road.

You’ll also be asked to provide a passphrase. Leave this empty since we can’t enter passwords when Github Actions run the SSH command for us.

When you’re done generating your SSH keys you should get a cute image like this:
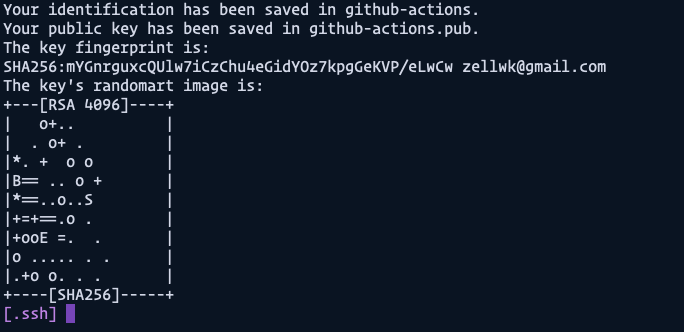
If you use the ls command now, you should see your keys in the .ssh folder.
ls
The public key contains a .pub extension while the private key doesn’t.

We need to add the public key (github-actions.pub) to authorized_keys so machines using the private key (github-actions) can access the server.
The easiest way is to use a cat command to append github-actions.pub into authorized_keys. It look like this:
cat github.pub >> authorized_keys
Here’s what the command does:
- Grab the contents of
github.pubwithcat. - Append to
authorized_keyswith>>.
Note: Make sure you use double-right-angled brackets (>>) and not single-angled brackets (>). Double means append, while single means overwrite. Be careful!
Step 3: Adding the private key to your repository’s secrets
Go to your repository on Github and click on “Settings”, then “Secrets”. You should see a button that says “New repository secret”.

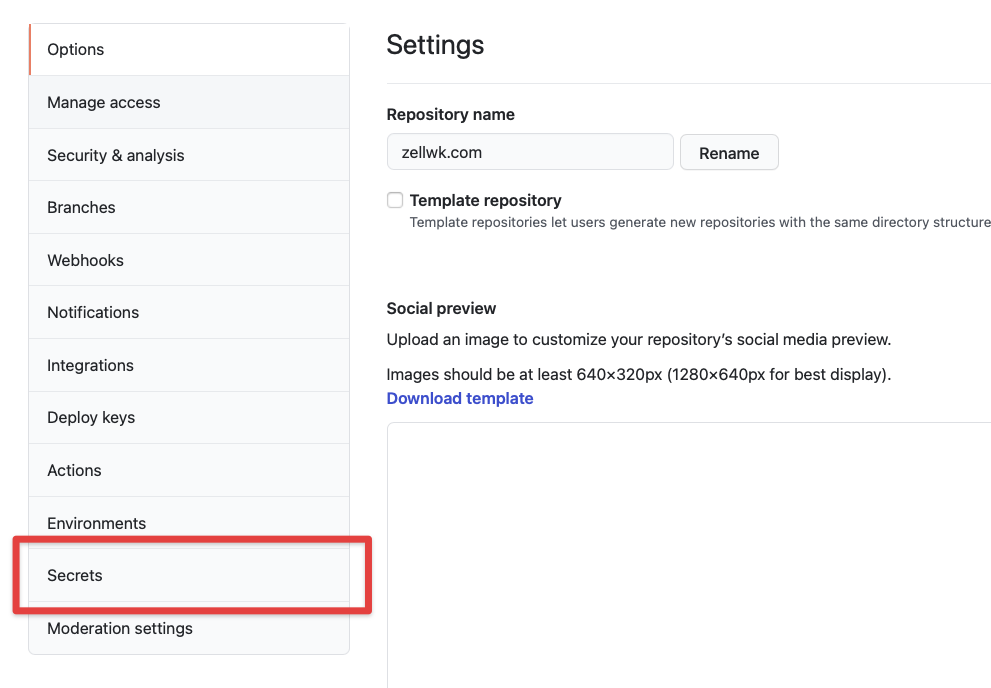
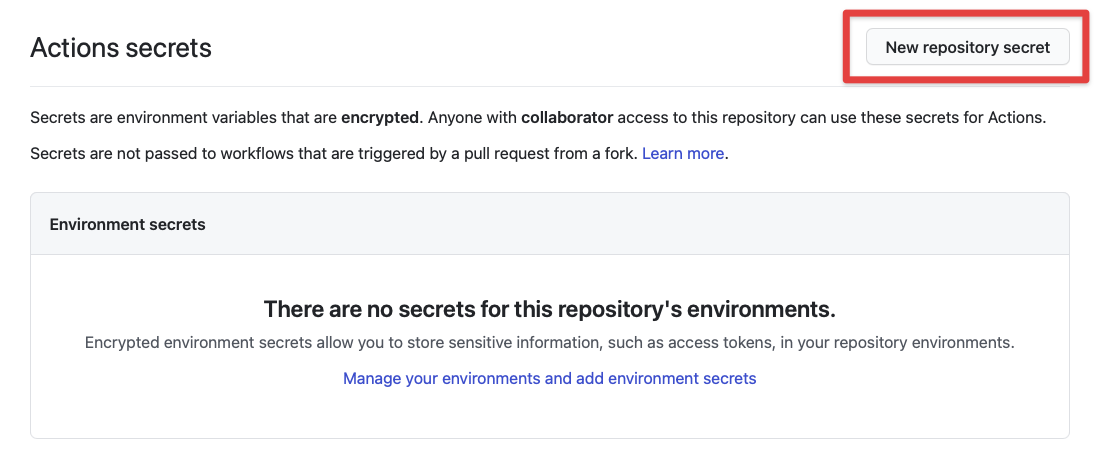
Click “New repository secret” and you’ll be prompted to enter a secret. This secret contains two things — a secret name and the contents. The secret name is used to get the contents later in a Github Actions workflow.

When you write your secret name, please use uppercase letters with underscores as spaces (as shown in the placeholder). This is a format we usually use for specifying secrets.
In this case, I chose to name the secret SSH_PRIVATE_KEY.
For the value, we need to go back into your server and open up the github-actions private key. We can do this with nano..
nano github-actions
You’ll see a file similar to this. (Don’t worry about me exposing this key, I trashed it already. I just wanted to show you exactly what to expect  ).
).
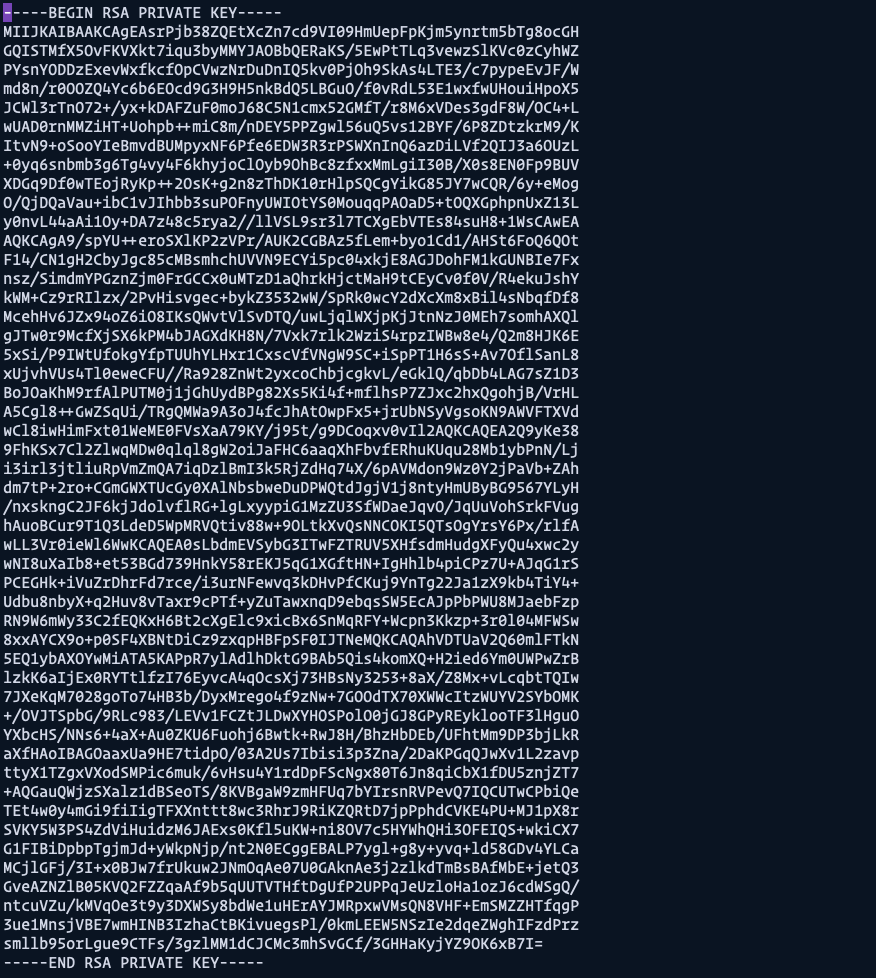
We need to copy everything and paste it inside the Secret value
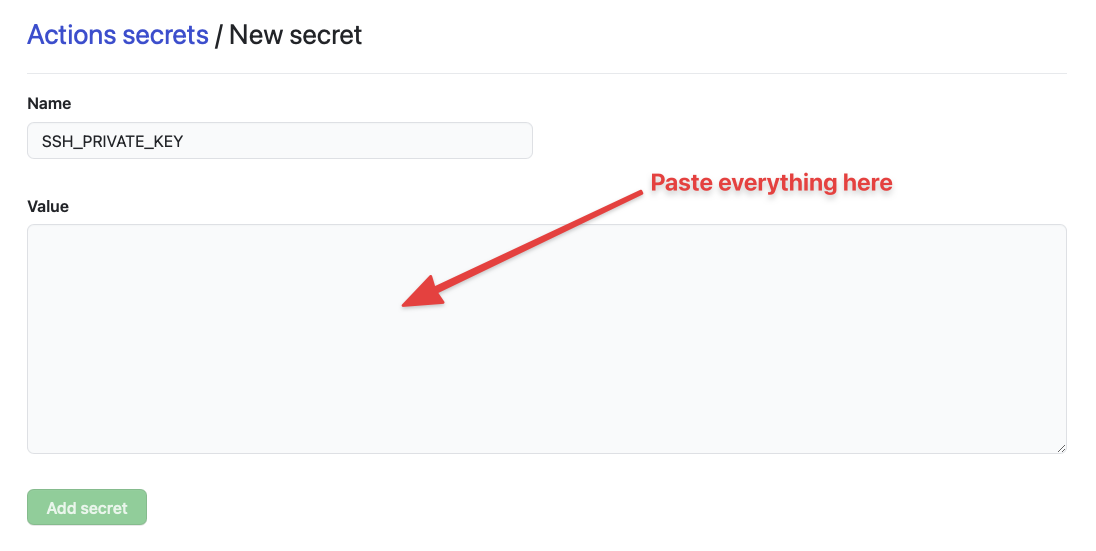
We can use the key like this:
Next, click on “Add secret” and you’ll be brought back to the secrets page. Here, you’ll see SSH_PRIVATE_KEY under the repository’s secrets.

Step 4: Adding the Private key to a Github Actions Workflow
I’m assuming you already know how to create a basic Github Actions file, so I’ll only talk about steps for adding the SSH Key here.
Adding the private key is a complex business, I chose to look for available Github Actions here. The only action that worked for me was Shimataro’s Install SSH Key.
steps: - name: Install SSH Key uses: shimataro/[email protected]
The Install SSH Key action requires two inputs — key and known_hosts value.
key is the private key we added to Github Secrets. We can use the secrets like this:
steps: - name: Install SSH Key uses: shimataro/[email protected]
    with:
      key: $
The known_hosts value is a weird hashed value. If you open up a known_hosts file in the .ssh server, you’ll see something like this:

We’re supposed to add ONE of these values into a Github Actions secret. How do we even get this value in the first place?! Unfortunately, none of the Github Actions showed me how to do this, so I had to google around for a while -_-.
Thankfully, we can use a command to generate this weird hashed value. I’ll talk about this command in the next step. For now, we simply have to add a random value to known_hosts so Shimataro’s Install SSH Key won’t give us an error.
steps: - name: Install SSH Key uses: shimataro/[email protected]
    with:
      key: $
      known_hosts: 'just-a-placeholder-so-we-dont-get-errors'
Step 5: Adding a correct known_hosts value
We can generate the correct known_hosts value with a ssh-keyscan command. It looks like this:
ssh-keyscan -H IP_ADDRESS_OF_HOST
If you replace IP_ADDRESS_OF_HOST with the actual ip address of your server, you should get a result like this. (I omitted my ip address but tried to show you everything else).

Once we know this, we can manually add the IP address (which I named as SSH_HOST) into the Github Secrets.

Then we can generate the correct information via ssh-keyscan and append it to the known_hosts file.
steps:
  # ...
  - name: Adding Known Hosts
    run: ssh-keyscan -H $ >> ~/.ssh/known_hosts
Step 6: Rsync into Server
We can finally rsync via SSH into the server. To do this, you need to know your SSH user and host. Here’s what the command looks like.
rsync -flags source [email protected]:destination
flagsare the flags you would like to rsync with. We commonly useavzwhich stands forarchive,verbose, andcompress. If you’re rsync-ing for the first time, I recommend using thenflag fordry-runas well.sourceis the source file you want to copy from[email protected]is the username and ip address of the your server. These values should be kept as secrets.destinationis the location of the files you want to copy to.
Here’s a real example of what I use to deploy zellwk.com to my server.
- name: Deploy with rsync run: rsync -avz ./dist/ [email protected]$:/home/zellwk/zellwk.com/dist/
Since we have the verbose flag, you should be able to see a list of resources that are copied via rsync.

That’s it!
Wrapping up
Here are the steps to summarize everything:
- Generate a SSH Keyphrase using the standard RSA format
- Add the public key to
authorized_keys - Add the private key as a Github secret
- Use Shimataro’s Install SSH Key action to generate a SSH Key in the runner.
- Append the correct
known_hostsconfiguration withssh-keyscan - Deploy with Rysnc via SSH
Done! 
Thanks for reading. This article was originally posted on my blog. Sign up for my newsletter if you want more articles to help you become a better frontend developer.
