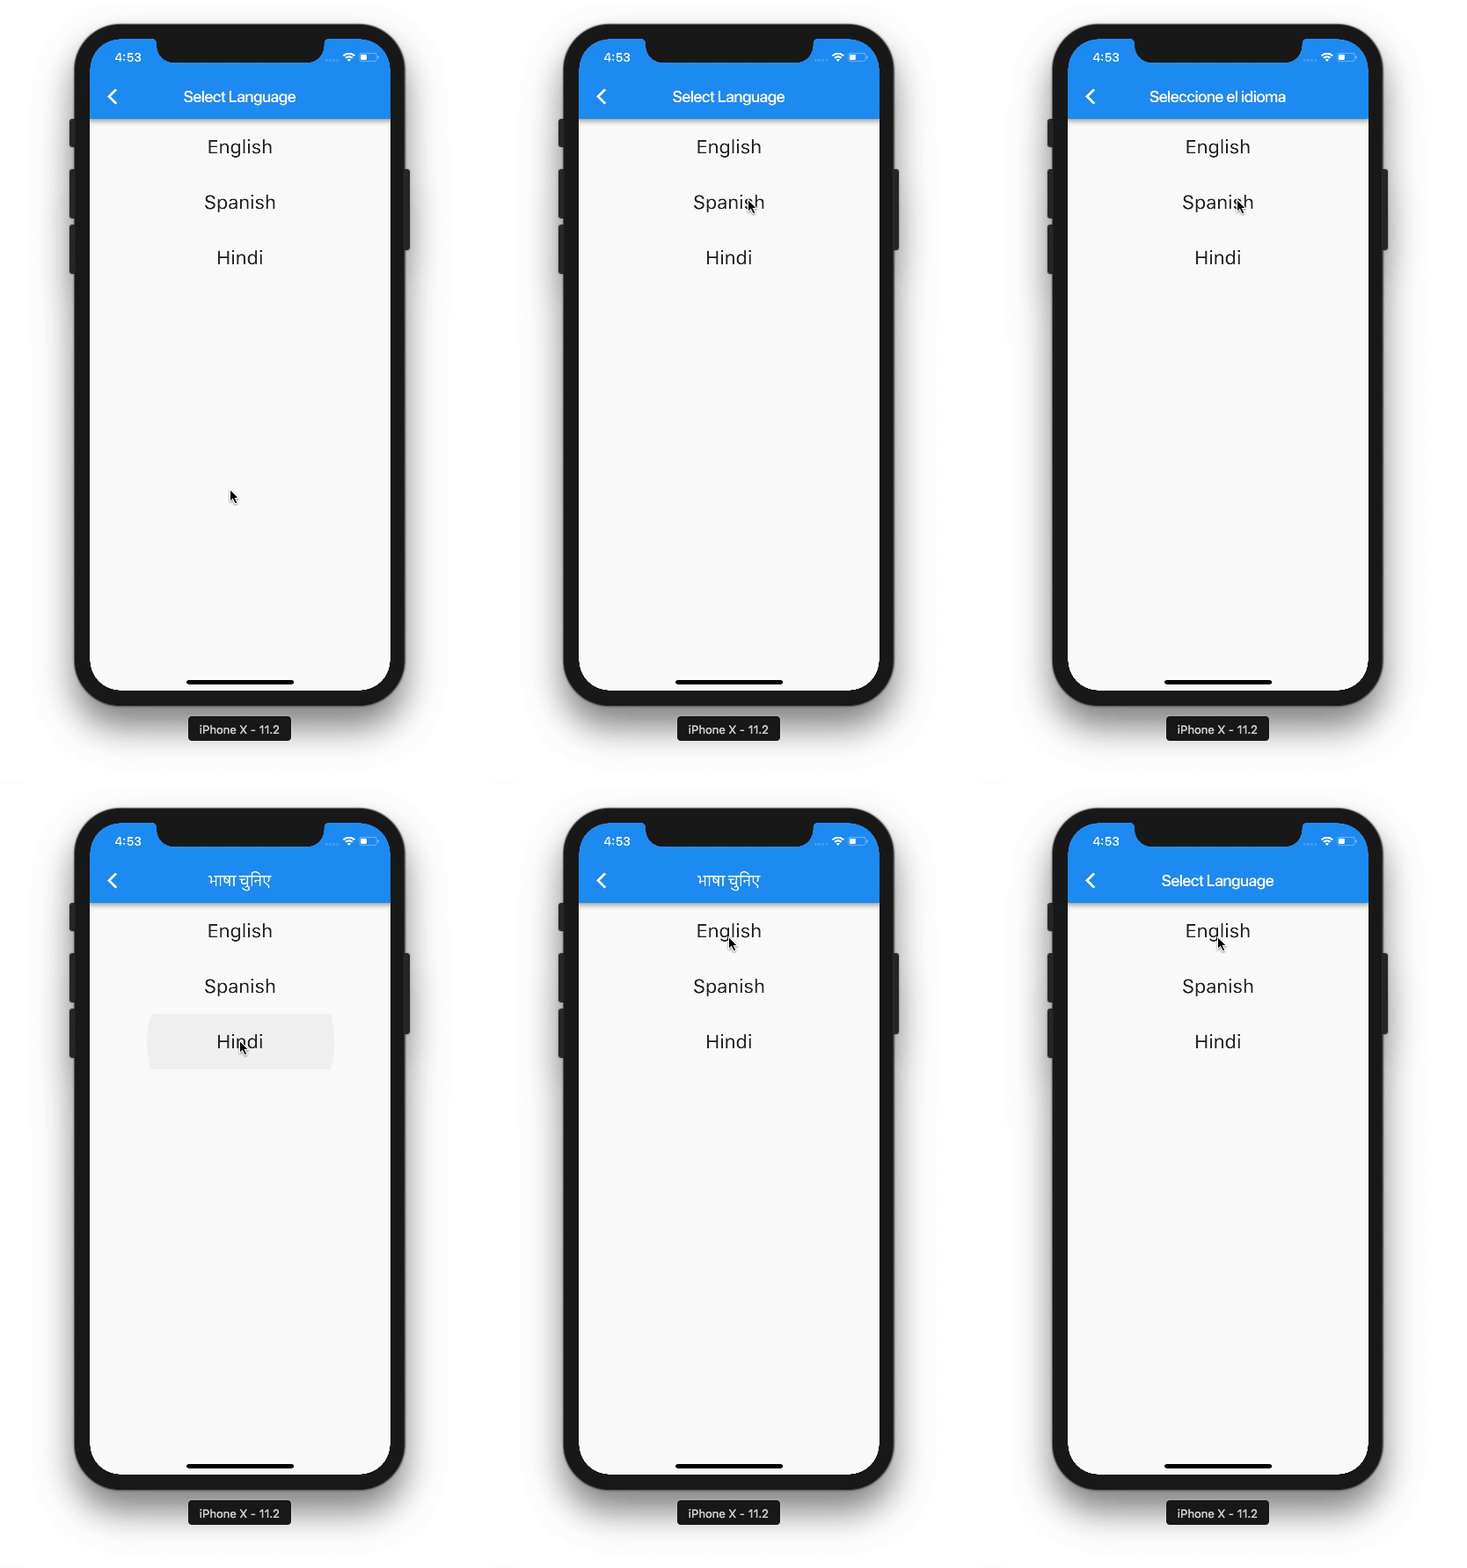
Flutter In-App Localization
This blog handles the use-case where you want to implement localization that is specific to your app i.e. changing the phone’s language does not have an effect on your app’s language.

Step 1: Add a settings icon to the AppBar for navigating to the LanguageSelectorPage
Step 2: Add theLangaugeSelectorPage. This would list all the available languages for your app.
Step 3: Add the localizations dependency in pubspec.yaml
flutter_localizations:
   sdk: flutter
Step 4: Add the language specific JSON files in the assets directory:

Step 5: Declare the language specific JSON files in pubspec.yaml. Be careful with the indentation.
flutter:
 assets:
 - assets/locale/localization_en.json
 - assets/locale/localization_es.json
Step 6: Create the AppTranslations class for fetching your JSON files from the assets > locale directory.
Apart from being responsible for fetching the JSON file data, this class decodes the JSON map and returns the value from the map for the corresponding key from the String text(String key) method.
Step 7: Create the AppTranslationsDelegate class which is responsible for:
- Checking if a
localeis supported or not - Providing the
AppTranslationsclass with thenewLocaleselected - Reloading the
AppTranslationsclass whenever thelocalechanges
Step 8: Next, we need to declare our delegates and supportedLocales in the MaterialApp widget as shown below:
Step 9: To allow our app to reflect localization changes everywhere in the app, we create an Application class that declares a LocaleChangeCallback. We’ll see how this is used later.
We also declare the supportedLocales in the Application class so that we do not have to hardcode them at multiple places in our code
Step 10: Replace the hardcoded supported locales in the AppTranslationsDelegate class with the ones from the Application class:
Also replace the hardcodedsupportedLocales in your MaterialApp widget under localizationDelegates:
Step 11: When the user selects a new language from the LanguageSelectorPage, it invokes the LocaleChangedCallback method of the Application class. Since that is assigned to the onLocaleChange method in our MyApp’s initState() method, the _newLocaleDelegate gets updated using setState() every time the language changes.
Step 12: Next, we modify our LanguageSelectorPage to pass the selected language’s code to the onLocaleChanged() method in the Application class on tapping a language from the list.
Step 13: Finally, replace the hardcoded text in line 26 with:
AppTranslations.of(context).text("title_select_language"),
Replace all your hardcoded texts in the above format where the argument of text(…) is the key from the selected language's JSON file.
That’s it!
Now, whenever you want to add support for a new language, you just need to make 4 changes:
- Add the new langauge’s json file in
assets>locale - Declare the same json file in
pubspec.yaml - Add the language display name and code to the
supportedLanguagesandsupportedLanguagesCodeslists respectively in theApplicationclass. - Update the
languagesMapon your Settings page by adding a newMapEntryfor the new language
We at GeekyAnts have been working with Flutter for a long time now. If you haven’t started working with Flutter yet, you can do so here or visit Flutter Market for some great starter projects that you can build on 

Great Share!
Versatile Mobitech is a Software Development Company based out of Hyderabad, We have pool of talented IT professionals who are technically sound in latest software development technologies like UX/UI Design, Website / Web Application Development, Mobile Applications Development, Digital Marketing and SEO, IT Consulting and Tech Support.
For more info visit: versatilemobitech.com