
Tasks iOs - Homescreen
Do you want to find a todo list? Google Tasks is a good choice for you. Very easy to use, very cool to keep using.
I admire this app and want to make a good app like this. In this series, I will try to copy Google Tasks in iOS. Hope you keep reading.
Preparation
I use some code collection from my personal codebase. You can download it at github
Init an empty project and added my mustHave folder
Design UI
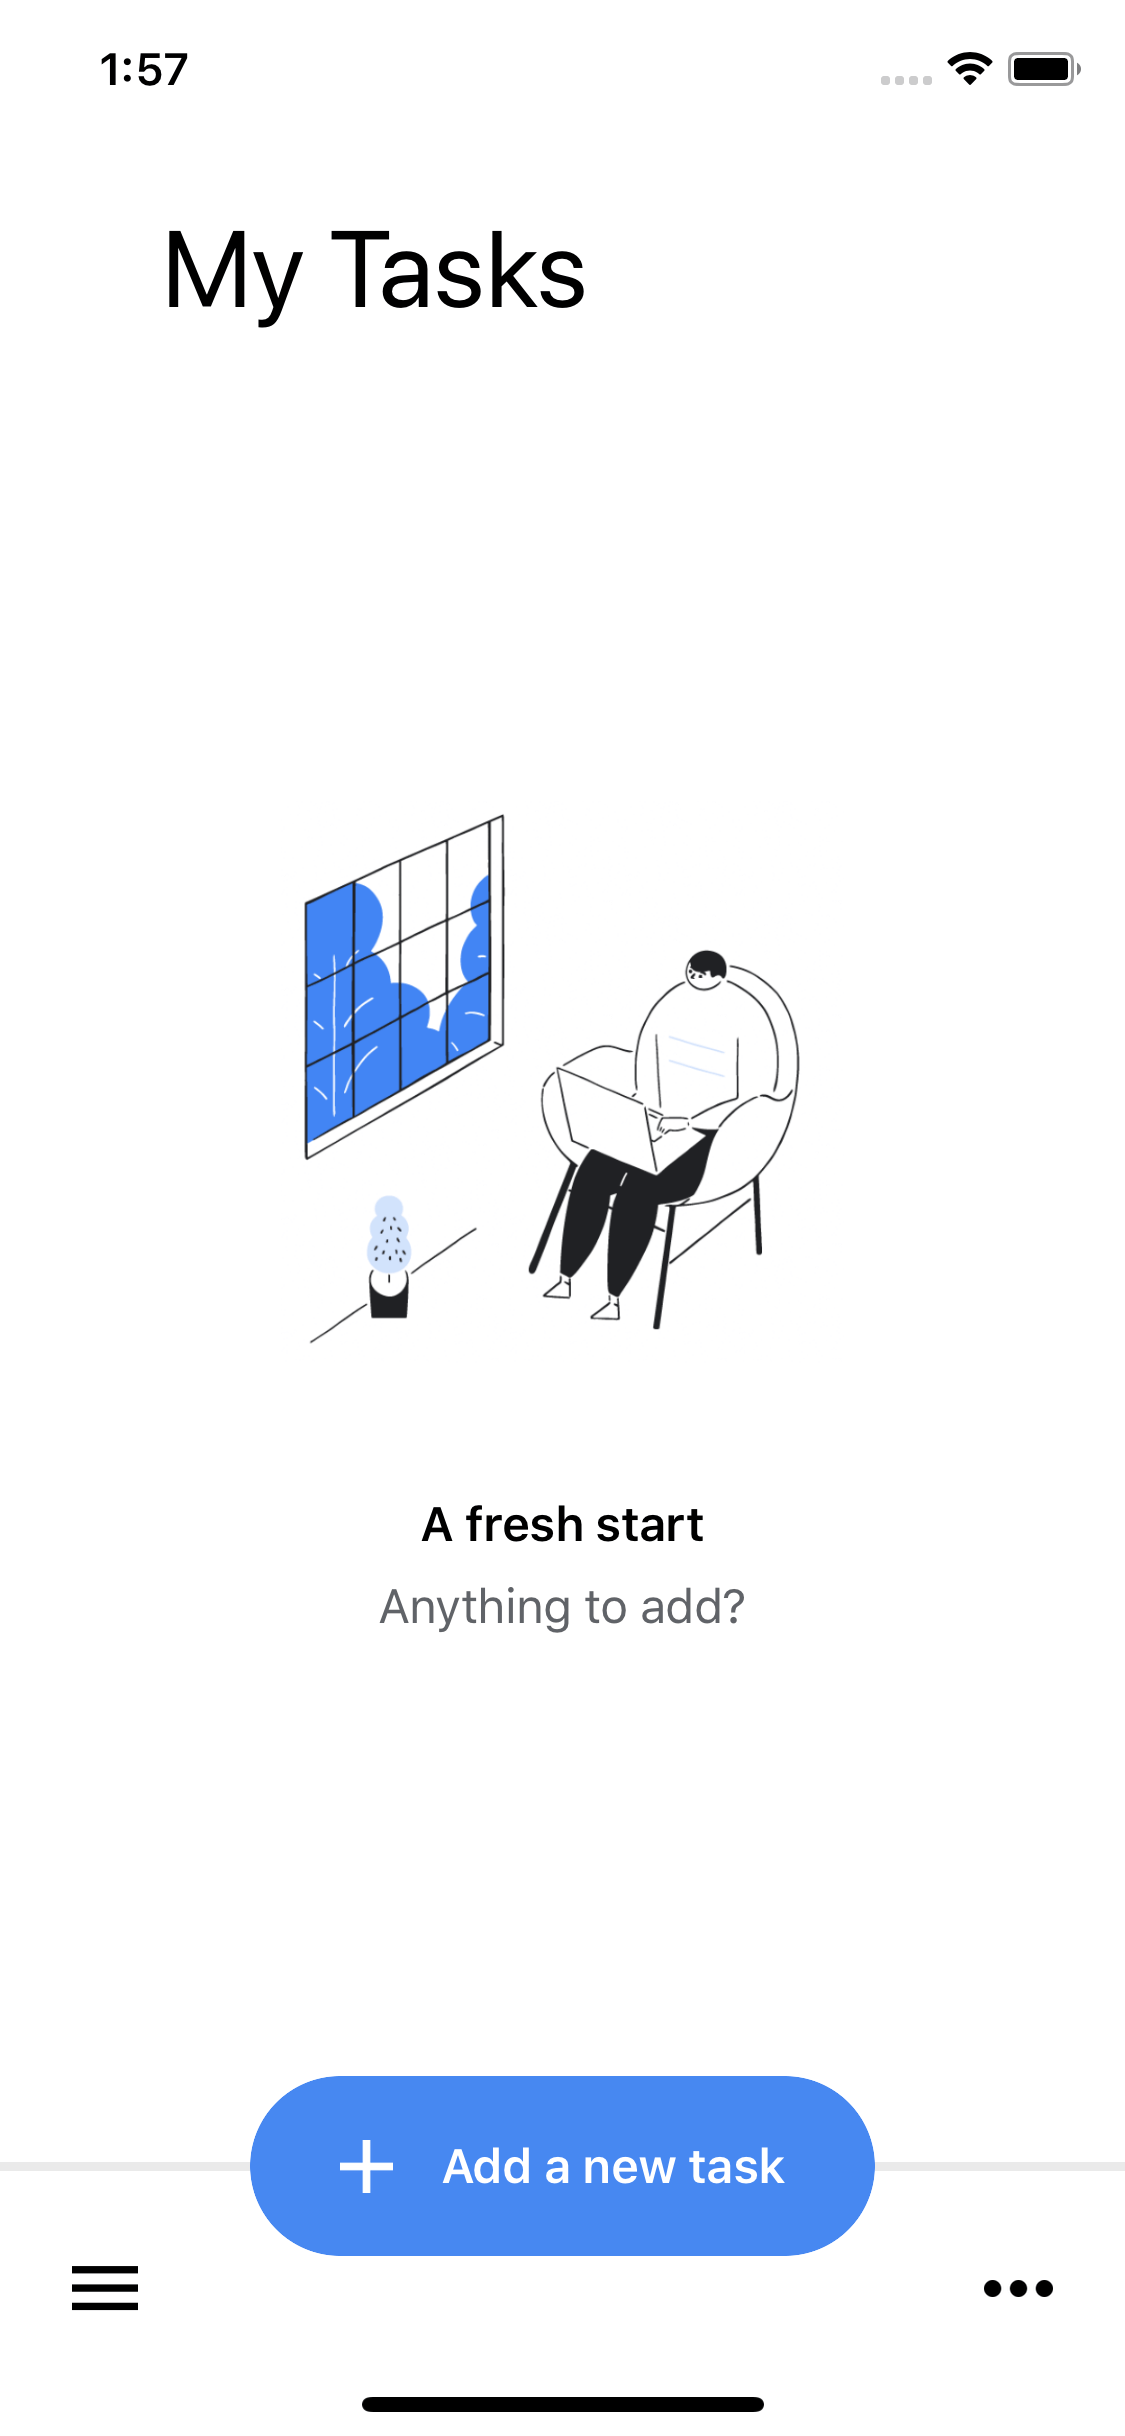
Today, we design this screen
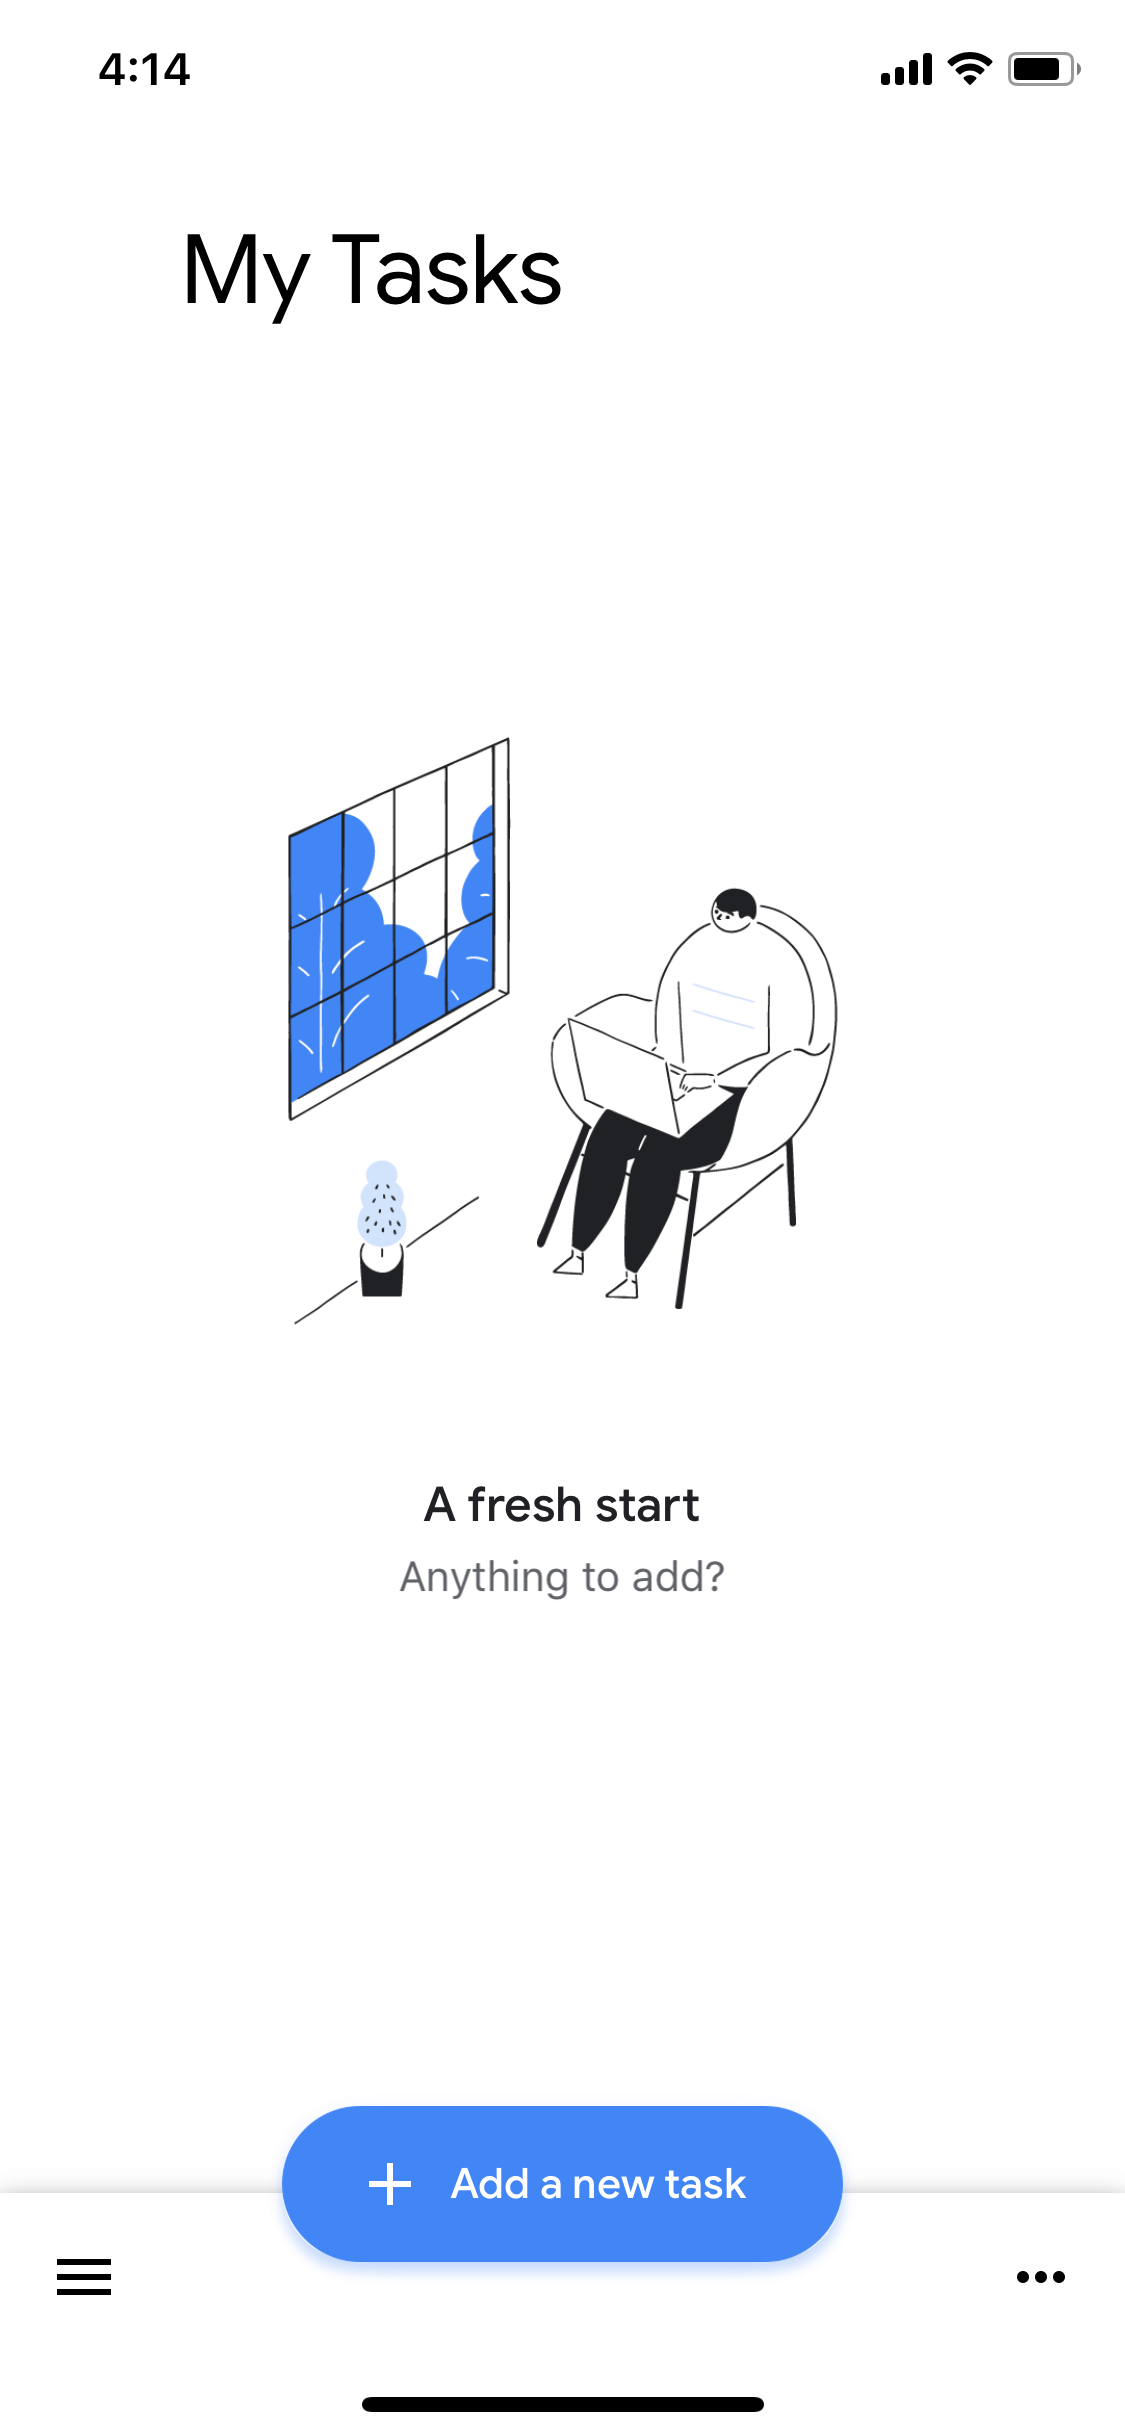
There are some parts we need do:
- Create custom views for the state view (center part) and the function view (bottom part)
- Design views and set auto layout
- Add animation when select
Add a new task
Create state view
App has states, and app needs state view. So if we design a good view, we can reuse in other apps. This is not a good design, just make it done for this project only.
- Add new file
StateView.swift - Paste these code into file
class tkStateView: knView {
    let imageView = knUIMaker.makeImageView(image: UIImage(named: "first_empty"), contentMode: .scaleAspectFill)
    let emptyBoldLabel = knUIMaker.makeLabel(text: "A fresh start",
                                            font: UIFont.boldSystemFont(ofSize: 16),
                                            color: .black, alignment: .center)
    let emptyActionLabel = knUIMaker.makeLabel(text: "Anything to add?",
                                            font: UIFont.systemFont(ofSize: 16),
                                            color: UIColor.color(r: 96, g: 99, b: 104),
                                            alignment: .center)
    override func setupView() {
        addSubviews(views: imageView, emptyBoldLabel, emptyActionLabel)
        addConstraints(withFormat: "V:|[v0]-44-[v1]-8-[v2]|", views: imageView, emptyBoldLabel, emptyActionLabel)

        imageView.square(edge: screenWidth / 2)
        imageView.horizontal(toView: self)

        emptyBoldLabel.horizontal(toView: self)

        emptyActionLabel.horizontal(toView: self)
    }
}
*Note
I usually use alias to start the name of class/struct. In this project, it’s
tk. With this alias, we can prevent some same names, like NotificationCenter…
Hope code is easy to understand. We add imageView, emptyBoldLabel, emptyActionLabel to the tkStateView and set auto layout for them. Stack all of them in the vertical and set them in the center of horizontal.
- This view can automatically calculate the size. Its width is
screen width / 2, equal toimageView. - Its height is calculated by constraints
V:|[v0]-44-[v1]-8-[v2]|.
Create function view
- Add new file name
FunctionView.swiftand paste code below
class tkFunctionView: knView {
    let addButton = knUIMaker.makeButton()
    let listOptionButton = knUIMaker.makeButton(image: UIImage(named: "dot_menu"))
    let accountOptionButton = knUIMaker.makeButton(image: UIImage(named: "dash_menu"))

    override func setupView() {
        let plusIcon = knUIMaker.makeImageView(image: UIImage(named: "add")!,
                                            contentMode: .scaleAspectFit)
        plusIcon.change(color: .white)
        let addLabel = knUIMaker.makeLabel(text: "Add a new task",
                                       font: .boldSystemFont(ofSize: 16),
                                       color: .white)
        let addView = knUIMaker.makeView()
        addView.addSubviews(views: plusIcon, addLabel)
        addView.addConstraints(withFormat: "H:|[v0]-16-[v1]|",
                           views: plusIcon, addLabel)
        plusIcon.centerY(toView: addView)
        addLabel.centerY(toView: addView)

        addButton.addSubviews(views: addView)
        addView.center(toView: addButton)
        addButton.createRoundCorner(30)
        addButton.backgroundColor = UIColor.color(r: 71, g: 136, b: 241)

        let line = knUIMaker.makeLine(color: .color(value: 234), height: 3)
        addSubviews(views: line, addButton, listOptionButton, accountOptionButton)

        line.horizontal(toView: self)
        line.centerY(toView: addButton)

        addButton.top(toView: self)
        addButton.centerX(toView: self)
        addButton.size(CGSize(width: screenWidth / 1.8, height: 60))

        listOptionButton.right(toView: self, space: -24)
        listOptionButton.verticalSpacing(toView: addButton)

        accountOptionButton.left(toView: self, space: 24)
        accountOptionButton.verticalSpacing(toView: addButton)
    }
}
Note
When you work in a project, I’m sure you don’t do like this. I have to try to design UI in the main view. When everything works great, I split them up to smaller view to be easier to reuse.
Implement homescreen UI
-
Open file
ViewController.swiftand change base class toknController. That’s just a UIViewController and I added some extensions for it. -
Define some views
let titleLabel = knUIMaker.makeLabel(text: "My Tasks",
                                    font: UIFont.systemFont(ofSize: 36),
                                    color: .black)
let stateView = tkStateView()
let functionView = tkFunctionView()
- Override
setupViewmethod from base class
override func setupView() {
  view.addSubviews(views: titleLabel, stateView, functionView)

  titleLabel.topLeft(toView: view, top: 68, left: 54)

  stateView.center(toView: view)

  functionView.horizontal(toView: view)
  functionView.bottom(toView: view)
  functionView.height(120)
}
I don’t like shadow, so I skip drop shadow for the line and the add button in tkFunctionView
Add CreateTaskView
Add new file name CreateTaskView.swift and paste code below
class tkCreateTaskView: knView {
    let taskNameTextView = knUIMaker.makeTextView(placeholder: "New task",
                                              font: .systemFont(ofSize: 18),
                                              color: .black)
    let addButton = knUIMaker.makeButton(image: UIImage(named: "add_fill"))
    let saveButton = knUIMaker.makeButton(title: "Save",
                                      titleColor: .color(r: 68, g: 137, b: 242),
                                      font: .boldSystemFont(ofSize: 18))
    var officalBounds = CGRect.zero

    override func setupView() {
        taskNameTextView.showsVerticalScrollIndicator = false
        taskNameTextView.returnKeyType = .done
        taskNameTextView.autocorrectionType = .no

        addSubviews(views: taskNameTextView, addButton, saveButton)

        taskNameTextView.horizontal(toView: self, space: 24)
        taskNameTextView.top(toView: self, space: 16)

        addButton.bottomLeft(toView: self, bottom: -16, left: 24)
        addButton.square(edge: 44)

        saveButton.right(toView: self, space: -24)
        saveButton.centerY(toView: addButton)

        taskNameTextView.height(44)
        backgroundColor = .white
    }

    override func layoutSubviews() {
        // (1)
        guard officalBounds != bounds else { return }
        officalBounds = bounds
        makeRoundCorner()
    }

    func makeRoundCorner() {
        let maskPath = UIBezierPath(roundedRect: bounds,
                                    byRoundingCorners: [.topRight, .topLeft],
                                    cornerRadii: CGSize(width: 20, height: 20))
        let shape = CAShapeLayer()
        shape.path = maskPath.cgPath
        layer.mask = shape
    }
}
(1)
- Method
layoutSubviewsis called many times. We don’t need to do anything ifboundsdoes not change.
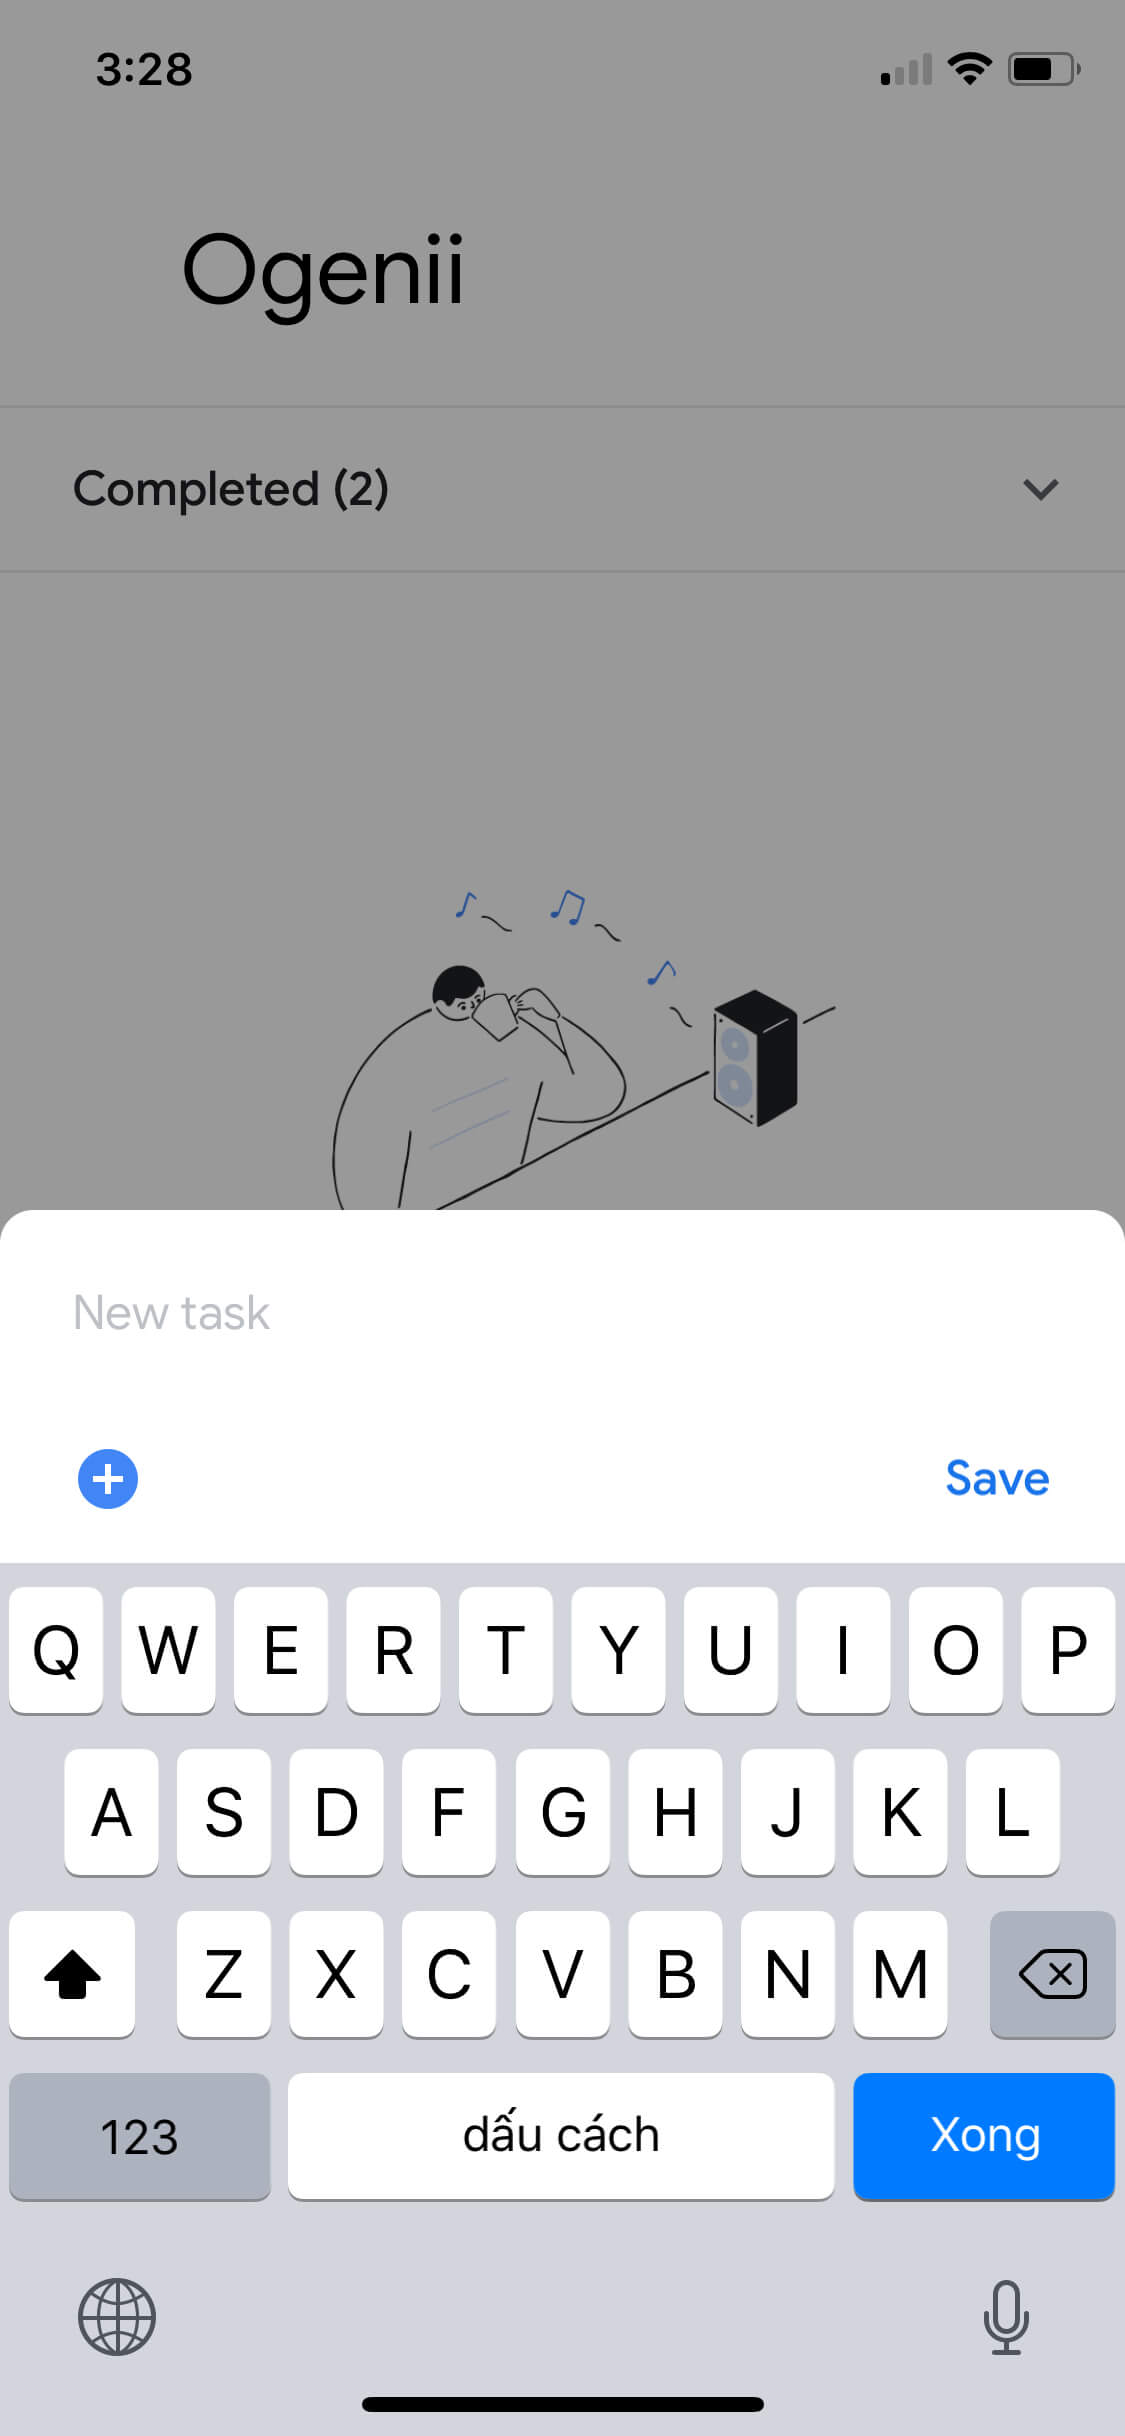
Animate to show CreateTaskView
UI looks like this.
Step 1: Open ViewController class and add some code
let newTaskView: tkCreateTaskView = {
    let view = tkCreateTaskView()
    view.frame.size = CGSize(width: screenWidth, height: 130)
    // (1)
    view.alpha = 0
    return view
}()

// (2)
override var inputAccessoryView: UIView? { return newTaskView }
override var canBecomeFirstResponder: Bool { return true }
(1)
- We will animate the view opacity in next step
(2)
- There are 2 ways to make the UI like this
- Add
newTaskViewtoviewand set auto layout. Observe Keyboard Notification and animate the constraints. - Set
newTaskViewasinputAccessoryView. Much easier. This is what I am doing
- Add
Step 2: Add action to show newTaskView in setupView method
override func setupView() {
    ...
    functionView.addButton.addTarget(self, action: #selector(showCreateTaskView))
}

@objc func showCreateTaskView() {
    newTaskView.taskNameTextView.becomeFirstResponder()
    UIView.animate(withDuration: 0.35, animations: { [weak self] in
        self?.newTaskView.alpha = 1
    })
}
- Run and see.
- Almost done. Just miss a black view overlay the main view. Get it done.
@objc func showBlackView() {
    let blackButton = knUIMaker.makeButton()
    blackButton.backgroundColor = UIColor.black.withAlphaComponent(0.5)
    blackButton.tag = 1001
    view.addSubviews(views: blackButton)
    blackButton.fill(toView: view)
    blackButton.addTarget(self, action: #selector(hideCreateTaskView))
}

@objc func hideCreateTaskView() {
    let blackButton = view.viewWithTag(1001)
    newTaskView.taskNameTextView.resignFirstResponder()
    UIView.animate(withDuration: 0.35, animations: { [weak self] in
        self?.newTaskView.alpha = 0
        blackButton?.alpha = 0
    })

    run({ blackButton?.removeFromSuperview()
        }, after: 0.35)
}

@objc func showCreateTaskView() {
    showBlackView()
    ...
}
- OK, run again for final result

Conclusion
We've done the Tasks home page. Very cool app I found in my life. Simple and convenience. If you want to keep building this cool, schedule a session with me and see how we make it done.
Keep coding. Enjoy coding.