
Build A Forum With Dancer2 (Episode - 3)
In our last tutorial, we seed to the data to database but there is one issue with it:
→ How the end user view data?
→ How to retrieve data from the database?
In this tutorial, we will tackle these issues.
Dancer 2 Routes
By now, we know how to start the Dancer2 Web application.
Let’s understand, how it works.

- Whenever the Dancer2 App starts, it will read the contents of the app.psgi file under bin directory.
- In the following step, it will load the PForums.pm Perl Package.
- 3rd step will load all the routes, (Take a look at get ‘/’ => sub { template ‘index’ => {‘title’ => ‘PForums’};}; At present, we have one default route added by the Dancer2.
→ It will upload the templates (under the views directory) and also pass the parameters to the template.
We will discuss templates and variable handling later.
To understand Routes, let’s add another route to PForums.pm
get ‘/hello’ => sub {
 return “Welcome to Dancer2 Web Application”;
};
It says, load hello route and instead of template return string “Welcome to Dancer2 Web Application”.
Start the app:
plackup -a bin/app.psgi
Open the URL http://localhost:5000/hello , will load

Dancer2 Routes Example
Isn’t it easy?
Let’s focus on our problem now. Just think about what we need to show from threads table to the frontend.
→ A database connection.
→ Query to show all thread data to the frontend.
Setup the database connection quickly.
Dancer2 Database Connection Setup
To setup DB connection efficiently, Install Dancer2::Plugin::Database Perl package.
Install the following Perl packages.
sudo cpan install Moose
sudo cpan install Config::General
sudo cpan install MooseX::NonMoose
sudo cpan install MooseX::MarkAsMethods
sudo cpan install DBIx::Class
sudo cpan install DBD::mysql
sudo cpan install Dancer2::Plugin::Database
After installing the Packages, use dbicdump command, to create the Database Schema.
Create a new file db.conf under the root directory of Dancer2 Application.
Add the following content to the file.
schema_class PForums::Schema

<connect_info>
    dsn dbi:mysql:PForums
    user root
    pass
</connect_info>

<loader_options>
    dump_directory ./lib
    components InflateColumn::DateTime
    use_moose 1
</loader_options>
Save the file and execute.
dbicdump db.conf
This will dump the DB Schema under the ‘lib’ folder.
Updated Structure of lib folder will look like the below figure.

New Structure of lib folder
Modify config.yml
Dancer2 doesn’t know the username and password of the database by default. And we don’t want to hardcode the Username and Password in any of the Perl Package.
We have config.yml, created when the Dancer2 Application was created.
Open the file and include:
plugins:
    DBIC:
        PForums:
            schema_class: PForums::Schema
            dsn: dbi:mysql:PForums
            user: root
            pass: ''
PForums → Name of our database. You can use yours.
user → DB username, usually it is not the recommended practice to use root user but for this tutorial we will employ it as an exception and off-course you can use your own db user name.
pass → DB password
Dancer2 uses, Simple template by-default. We desire to change to template-toolkit to induce modern features. Include the following content to the config.yml:
template: "template_toolkit"
engines:
    template:
        template_toolkit:
        start_tag: '[%'
        end_tag: '%]'
It’s time to modify the templates to show our seed data.
Open the file index.tt under the views directory and delete all content in it.
Open file. main.tt under the views/layout directory and add
<link rel="stylesheet" href="https://stackpath.bootstrapcdn.com/bootstrap/4.1.1/css/bootstrap.min.css" integrity="sha384-WskhaSGFgHYWDcbwN70/dfYBj47jz9qbsMId/iRN3ewGhXQFZCSftd1LZCfmhktB" crossorigin="anonymous">

BootStrap added to main.tt template file
Add the following lines, just above the </body> tag.
<script src="https://code.jquery.com/jquery-3.3.1.slim.min.js" integrity="sha384-q8i/X+965DzO0rT7abK41JStQIAqVgRVzpbzo5smXKp4YfRvH+8abtTE1Pi6jizo" crossorigin="anonymous"></script>

<script src="https://cdnjs.cloudflare.com/ajax/libs/popper.js/1.14.3/umd/popper.min.js" integrity="sha384-ZMP7rVo3mIykV+2+9J3UJ46jBk0WLaUAdn689aCwoqbBJiSnjAK/l8WvCWPIPm49" crossorigin="anonymous"></script>

<script src="https://stackpath.bootstrapcdn.com/bootstrap/4.1.1/js/bootstrap.min.js" integrity="sha384-smHYKdLADwkXOn1EmN1qk/HfnUcbVRZyYmZ4qpPea6sjB/pTJ0euyQp0Mk8ck+5T" crossorigin="anonymous"></script>
Creating index.tt Layout
Open index.tt under views directory and add the following content
<nav class="navbar navbar-expand-sm bg-dark navbar-dark">

<a class="navbar-brand" href="/">PForums</a>

<ul class="navbar-nav">
        <li class="nav-item">
            <a class="nav-link" href="">Topics</a>
        </li>
        <li class="nav-item">
            <a class="nav-link" href="#">Sign In</a>
        </li>
        <li class="nav-item">
            <a class="nav-link" href="#">Sign Up</a>
        </li>
    </ul>
</nav>
If you open the browser and hit the URL http://localhost:5000/, it will look like

Updating the index.tt
Topics represent all the threads created under PForums web application. Sign In and Sign Up are pretty obvious.
Next is to show the threads from the database on the index page.
In the PForums.pm file, replace get ‘/’ => sub {};
with
get '/' => sub {
    my [@threads](http://twitter.com/threads "Twitter profile for @threads") = schema->resultset('Thread')->all();

template 'index' => {
         'title' => 'PForums' ,
         'threads' => \[@threads](http://twitter.com/threads "Twitter profile for @threads")
    };
};
Code Explanation:
my [_@threads_](http://twitter.com/threads "Twitter profile for @threads") = schema->resultset('Thread')->all();
Above line retrieve the results from the Thread table and stores in @threads array. Filtering of the result is not required as we need to show all the threads present in the database.
After retrieving the results from the database in an array, we need to pass @threads variable to the template i.e. index.tt
'threads' => \[_@threads_](http://twitter.com/threads "Twitter profile for @threads")
Make sure following packages are imported at the top of the file
package PForums;

use Dancer2;
use Dancer2::Plugin::DBIC;
use strict;
use warnings;
At the moment, we are ready with the backend. We need to show the results on the frontend now.
Open the file index.tt and add the following content at the end of the file.
<strong>
    All Topics
</strong>
<hr>
[% FOREACH thread IN threads %]
    [% thread.title %]
[% END %]
threads → variable that we pass to the template
FOREACH → To iterate the threads varaible
thread.title → display the title column of the thread table
After restarting the Web Services, our Web application will look like:

All Threads
We can view the threads on the page, but the display is badly organised, in order to tackle this issue horizontal row <hr> must be added after each thread title.
<strong>
    All Topics
</strong>
<hr>
[% FOREACH thread IN threads %]
    [% thread.title %]
    <hr>[% END %]
Launch the web application again.
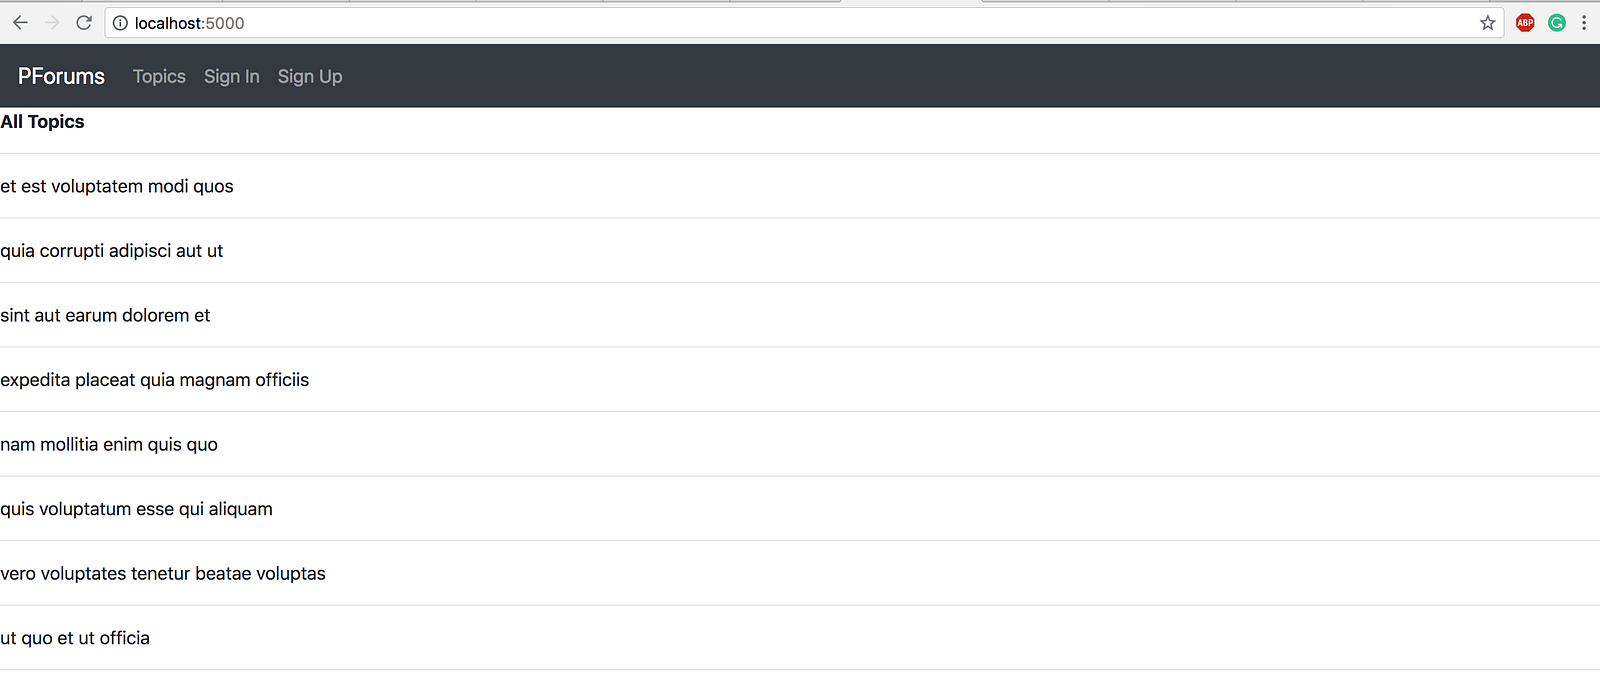
After adding Horizontal row after title of the thread.
Now, the look and feel of the Application is much better than before.
In this tutorial, we learn
✔ How the Dancer2 Routes works?
✔ How to modify the Dancer2 configuration file?
✔ How to use dbicbdump to load the schema to the Application?
✔ How template toolkit works?
✔ To show the data from database to the front end
Our Application looks satisfactory, but it is very far from production ready web application. In the next part of our tutorial, we will reform the frontend and refactor our backend to make this application scalable.
That’s all for now. Please submit your feedback or query in the comments section.