Flask Dashboard Argon - Learn Flask by coding an Admin Panel
Hello Coder,
The goal of this article is to help beginners, to code their own production-ready Flask Dashboard enhanced with SQLite database, ORM and authentication, on top of a usable UI. The resulting app, is published on Github, under MIT license and the full set of features is listed bellow:
- SQLite Database / PostgreSQL , SQLAlchemy ORM
- Modular structure via blueprints
- Session-based authentication flow (login, register)
- Password hashing via Passlib
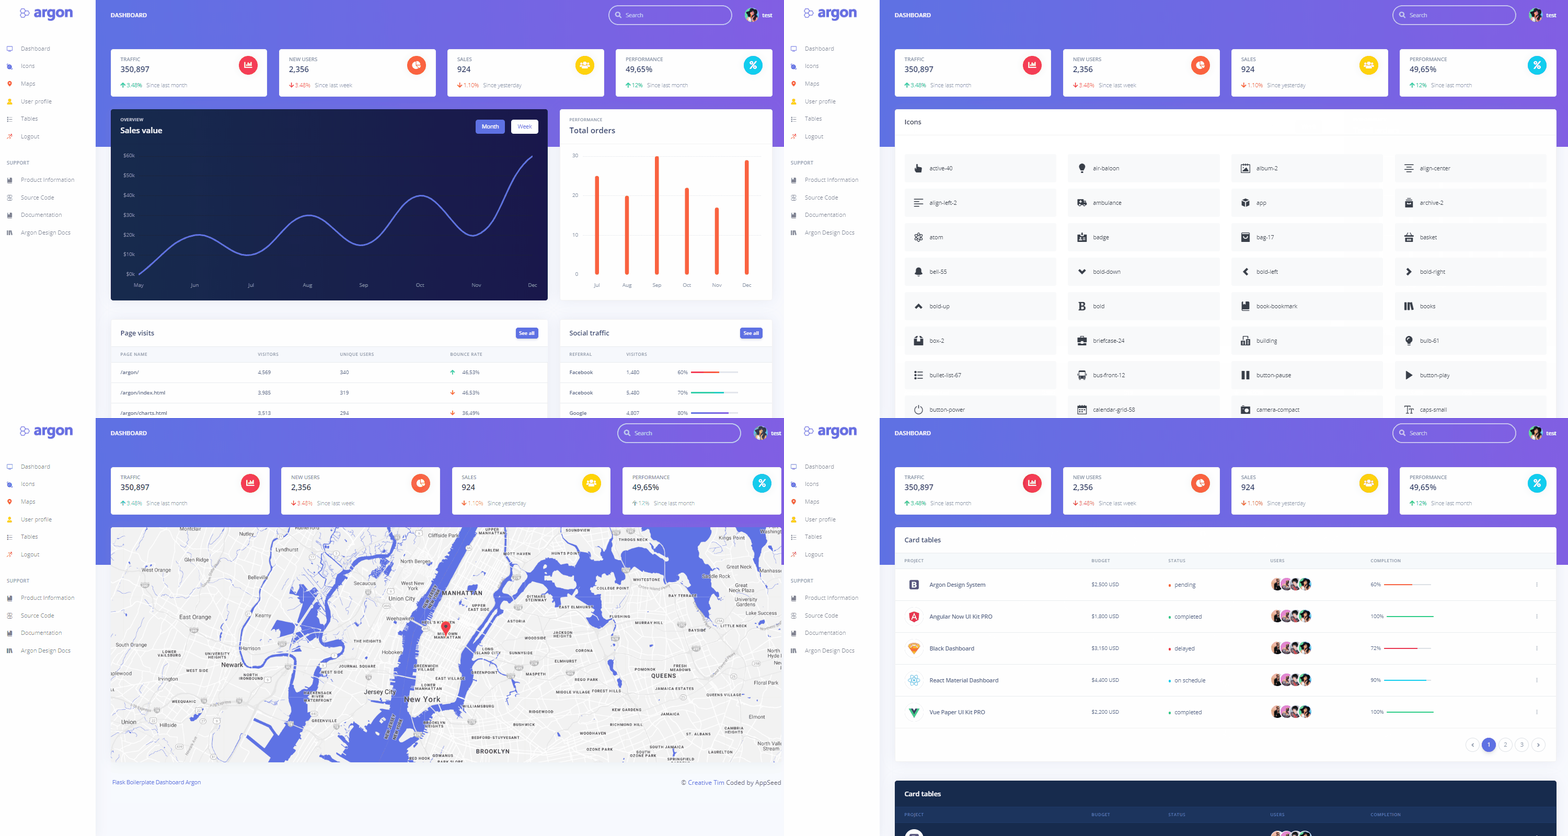
In a rush? You may checkout the dashboard page or the Github sources

The Environment
To code and update our app in Flask we need at least Python and Flask installed.
pip install Flask
To test the installation, open a python console and type:
$ python
$ >>> from flask import Flask
$ >>>
If your terminal is getting full of errors, Flask is ready to inject steroids into our application.
Dashboard Structure
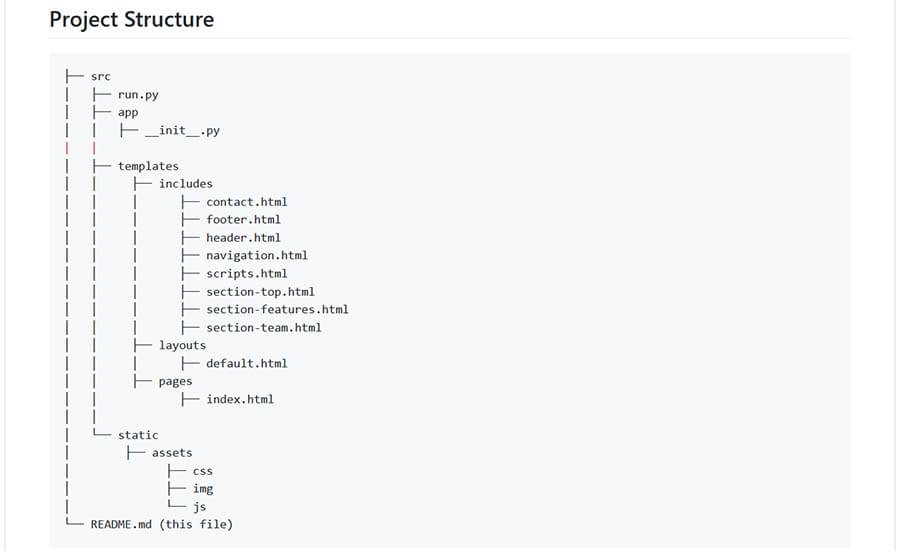
Because Flask is a great Framework, a develope has total freendom when builds a new app. All code can be saved in one file, or can be splited logically, across files and directories. The chosen structure is shown bellow:

We can easily remark the modular files split for the functional part (views, models), static and templates. Anyway, if this structure does not fit your taste, feel free to update it acordingly.
The (Argon) Design
In order to have an usable product at the end, we need a nice design integrated into our future app. Personally, I'm a big fan of the team behind this design because they release usable products under MIT License. Argon dashboard is not an exception.

Database Access
Any dashboard, must have a database behind for authentication and theinformation injected into the charts. On this section, the app is using Flask-SQLAlchemy library to avoid writing raw SQL sentences like, 'select * from ..'
Let's look how it helps SQLAlchemy to select data from database:
$ flask shell
$ >>> from app.models import User
$ >>> User.query.all()
<User 1>
The User.query.all() return all table rows as objects, and manipulating the information to delete, create and update become quite an easy task.
Authentication Flow
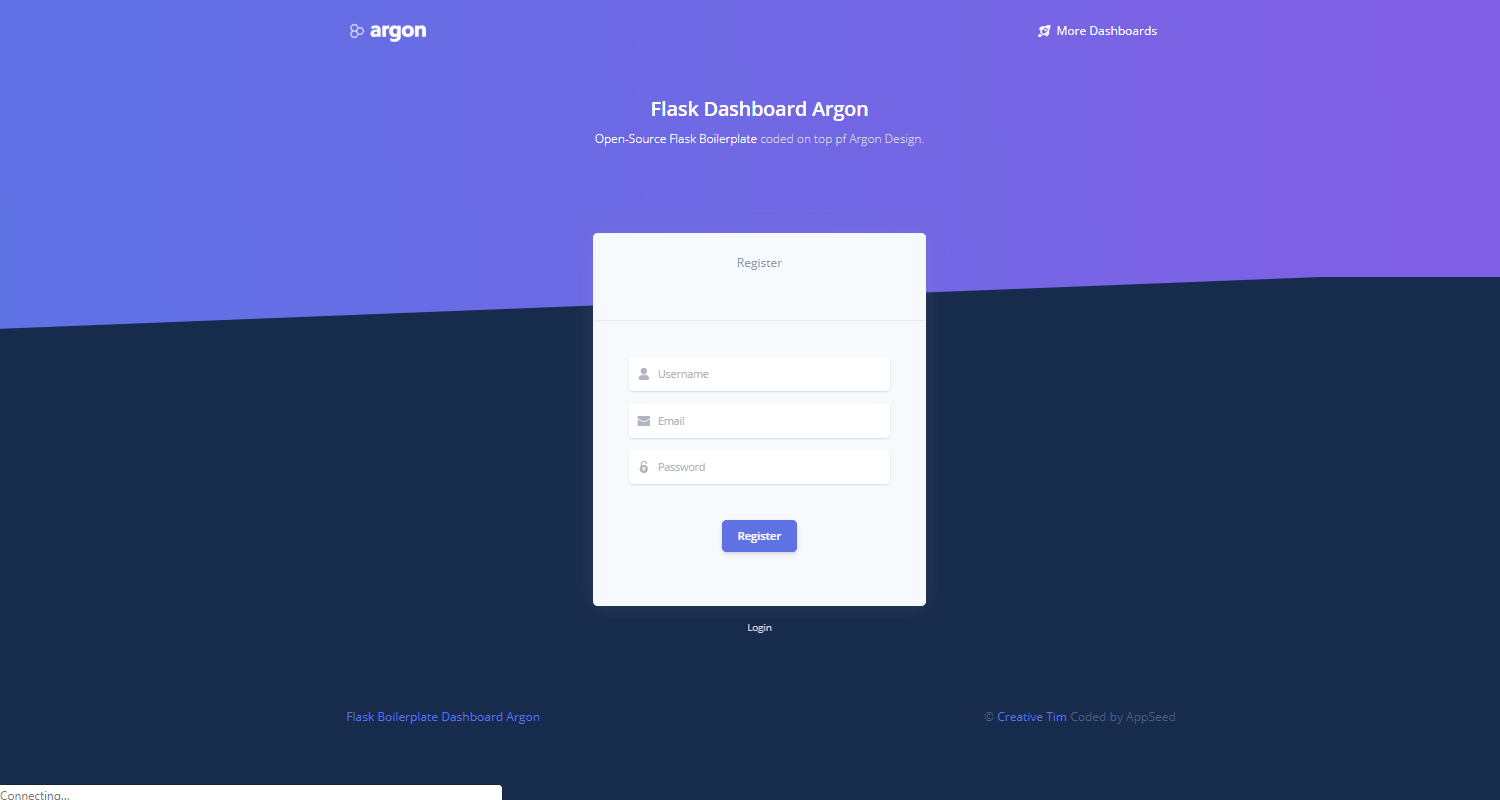
As i said, the app has the bateries included, and comes with login, logout and registration ready to be used. Implementing autehtication into a Flask app, can be time-consuming if the core of the Flask is not fully understood.
Shell Enhancements
This app ca be also exported as a static app, by using two amazing libraries:
- Click - help us to handle a custom command into Flask CLI
- Frozen-Flask - Generate a static version of our app, and strip entirely the Flask middleware.
The relevant code is saved into run.py
import click
from   flask_frozen import Freezer

from app import app
from app import db

# define custom command
@app.cli.command()
def build():
    freezer = Freezer(app)
    freezer.freeze()

if __name__ == "__main__":
    app.run()
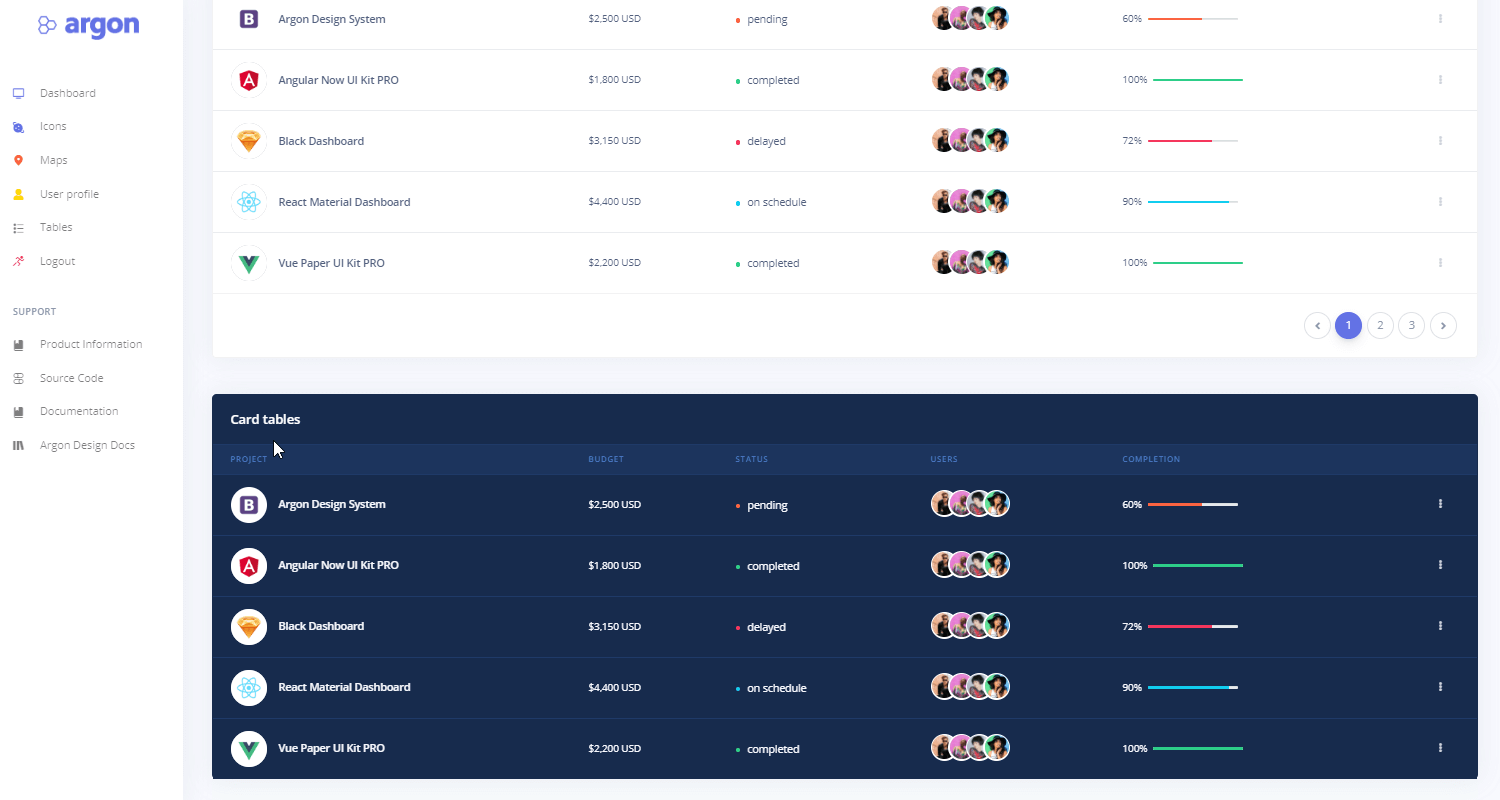
App Screenshots


How to use it
As mentioned before, the project is released under the MIT license on Github to be used by anyone. In case you want to build the app without leaving this page, please open your preferred terminal and type:
$ # 1. Get the code
$ git clone https://github.com/app-generator/flask-boilerplate-dashboard-argon.git
$ cd flask-boilerplate-dashboard-argon
$
$ # install modules using a virtualenv
$ virtualenv --no-site-packages env
$ source env/bin/activate
$
$ # 2. Install requirements
$ # SQLIte version (no PostgreSQL)
$ pip install -r requirements-sqlite.txt
$
$ # OR with PostgreSQL connector
$ pip install -r requirements.txt
$
$ # 3. Set the FLASK_APP environment variable
$ (Unix/Mac) export FLASK_APP=appseed-app.py
$ (Windows) set FLASK_APP=appseed-app.py
$ (Powershell) $env:FLASK_APP = ".\appseed-app.py"
$
$ # 4. Run the application
$ flask run --host=0.0.0.0
$
$ # 5. Go to http://127.0.0.1:5000/, create an account and log in
Dashboard links
- Flask Dashboard Argon - the source code released under the MIT license on Github
- Flask Dashboard Argon - product documentation
- Flask Deploy on Apache - CentOS environment
Thank You!
Btw, my (nick)name is Sm0ke and I'm writing a lot on Dev.to
