Flask Cheat Sheet - And FREE samples
Hello Coders,
This article is just another Flask Cheat Sheet that might help beginners to speed up their learning curve and the rest of our audience with some nice production-ready samples. For newcomers, Flask is a lightweight web application framework written in Python. Sometimes classified as a microframework, Flask provides a lightweight codebase that can be easily extended to become an API, a simple web app, or a complex eCommerce platform.
Thanks for reading! TL;DR; links
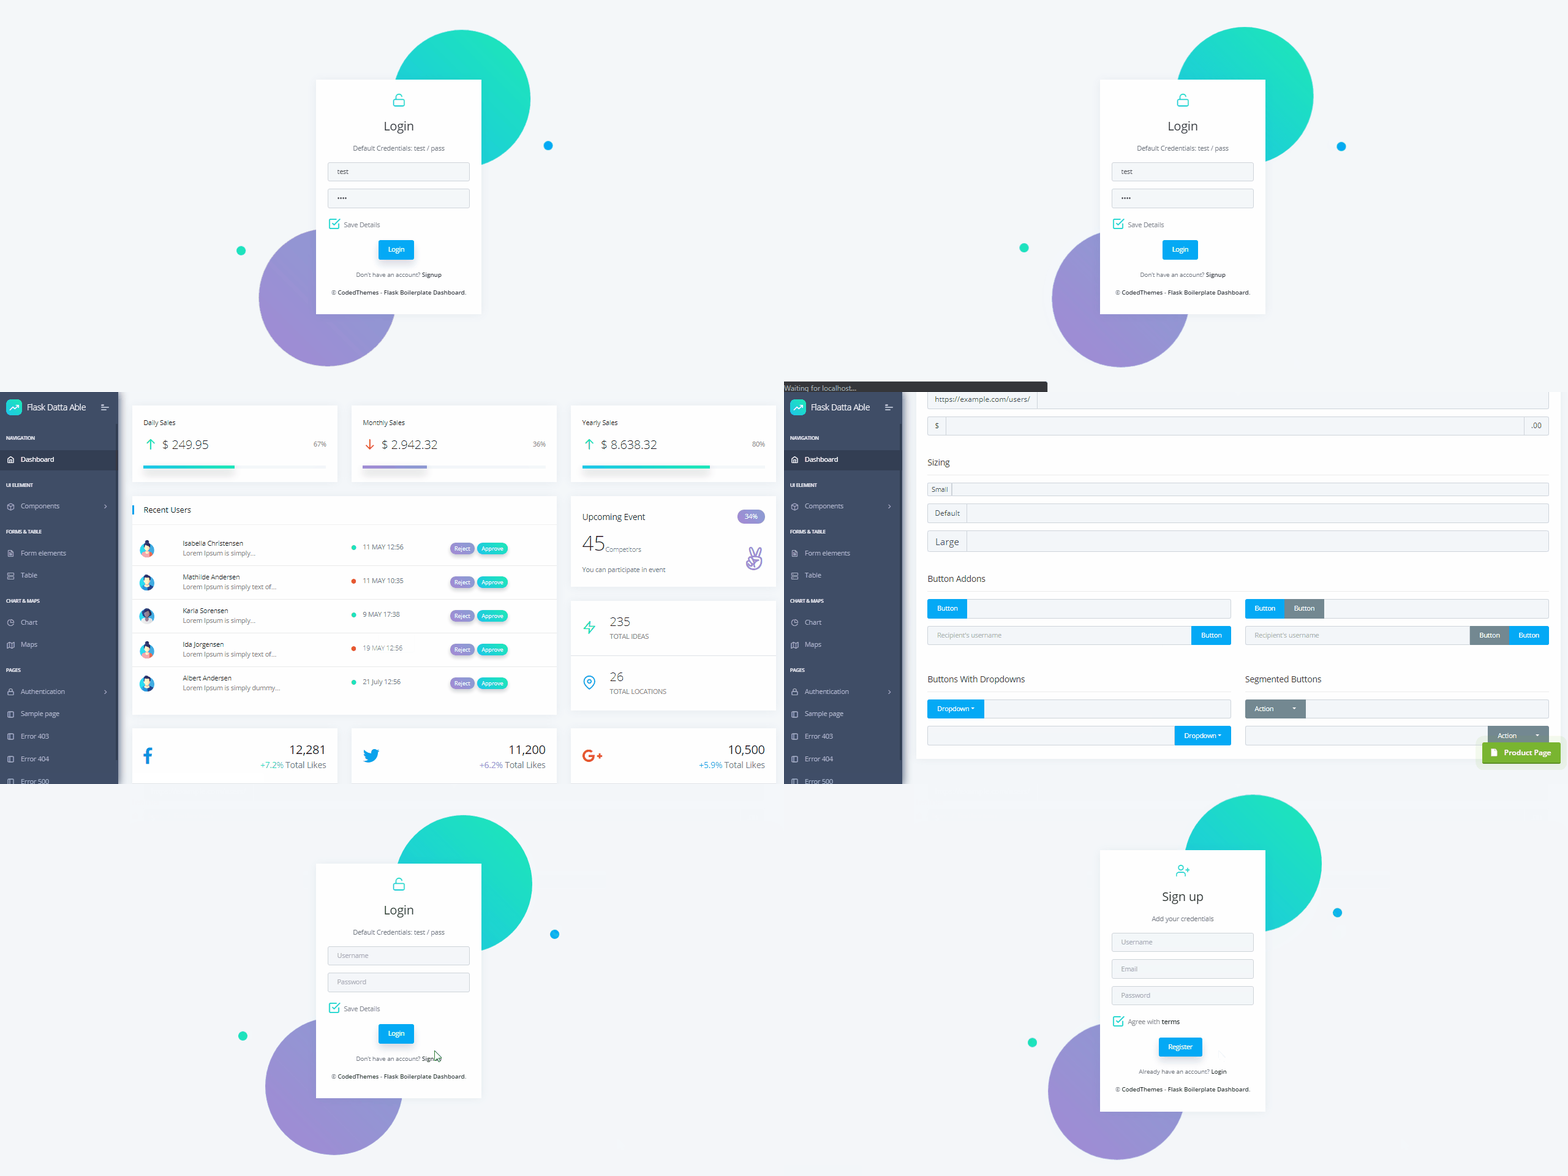
- Datta Able Flask - open-source Flask Dashboard
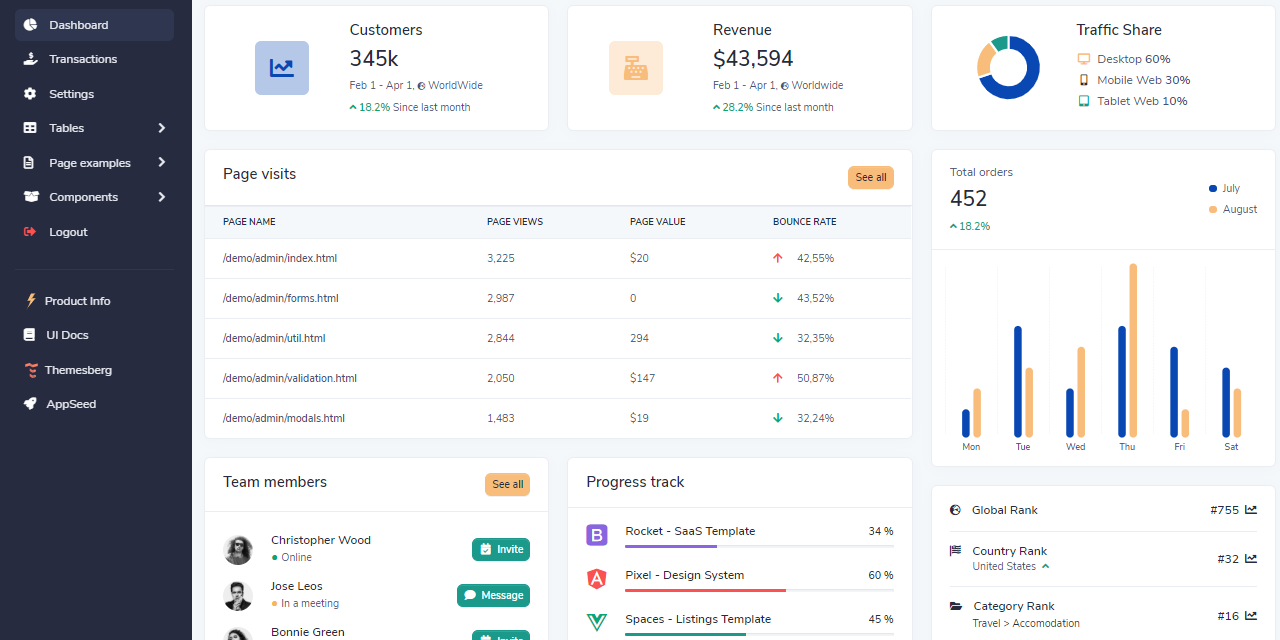
- Flask Volt Bootstrap 5 - a Bootstrap 5 design now available in Flask
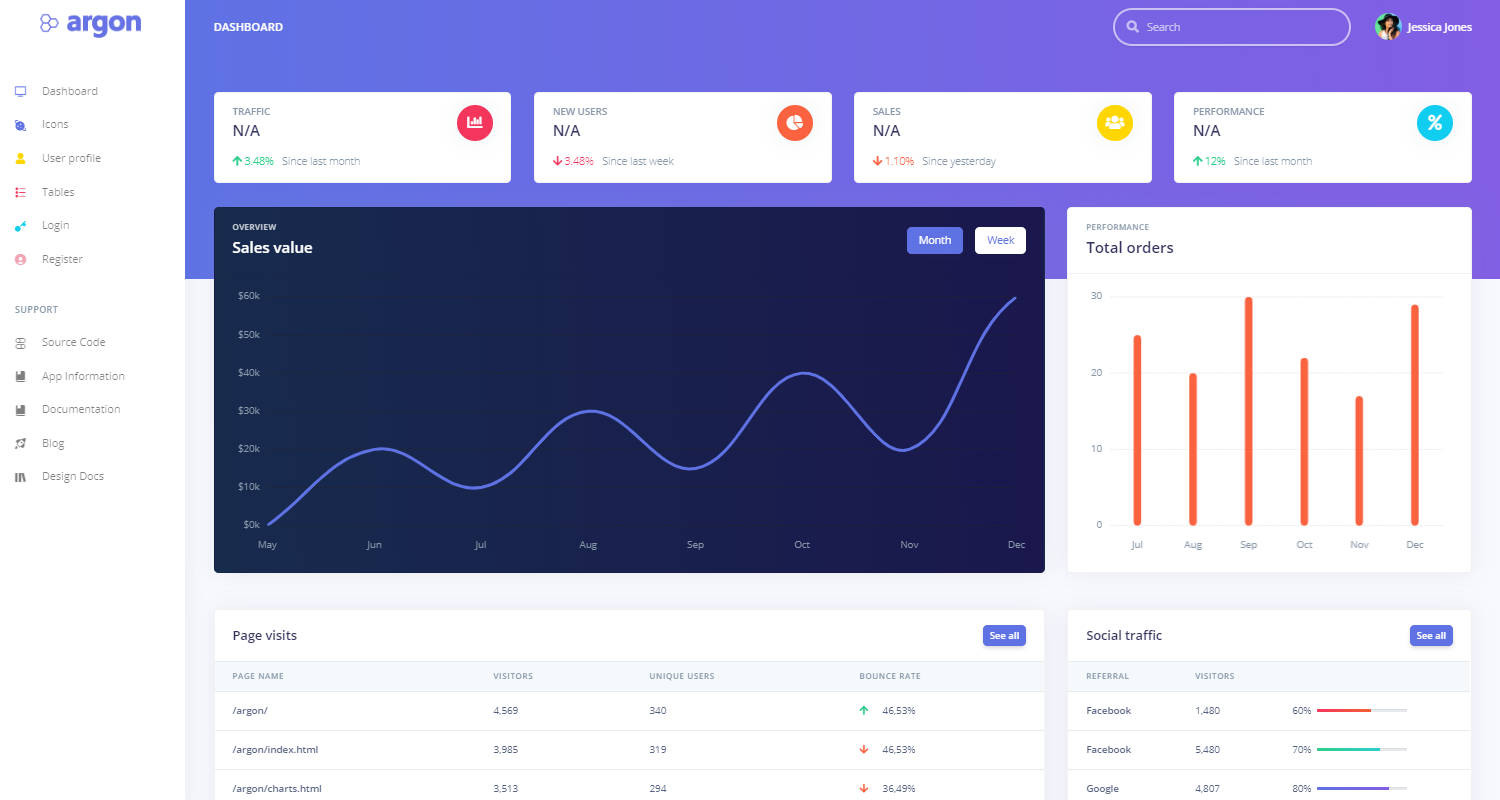
- Flask Argon Dashboard - just another free Flask admin dashboard
- Flask Pixel UI Kit - simple Flask starter (open-source)

1# - What is Flask
Flask is a lightweight WSGI web application framework. It is designed to make getting started quick and easy, with the ability to scale up to complex applications. Classified as a microframework, Flask aims to keep the core of its framework small but highly extensible.
2# - Install Flask
$ pip install Flask
3# - Creating an isolated environment
$ python -m venv flask_env
Activate virtual environment
$ source flask_env/bin/activate
Deactivate virtual environment
$ deactivate
4# - A super simple Flask app
from flask import Flask

app = Flask(__name__)

@app.route('/')
def hello():
    return f'Hello from Flask!'
5# - Start the app
$ env FLASK_APP=hello.py flask run
 * Serving Flask app "hello"
 * Running on http://127.0.0.1:5000/
6# - Object-Based Configuration
Create a new config file in the project root:
PROJECT_ROOT/app/config.py
Add content using OOP and class inheritance
class BaseCfg(object):
    SECRET_KEY = 'SuperS3cretKEY_1222'
    DEBUG = False
    TESTING = False

class DevelopmentCfg(BaseCfg):
  DEBUG = True
  TESTING = True

class TestingCfg(BaseCfg):
  DEBUG = False
  TESTING = True

class ProductionCfg(BaseCfg):
    SECRET_KEY = 'HvFDDcfsnd__9nbCdgsada'
  DEBUG = False
  TESTING = False
Let's use the configuration:
Update PROJECT_ROOT/app/__init__.py to use it:
from flask import Flask
from app import config

app = Flask(__name__)
app.config.from_object(config.DevelopmentCfg) # <--- Magic line
7# - Render page using Jinja
The Flask controller
from flask import Flask, render_template
app = Flask(__name__)

@app.route("/test")
def template_test():
    return render_template('template.html', my_string="Jinja Works!!")

if __name__ == '__main__':
    app.run(debug=True)
The HTML template
<html>
  <head>
    <title>Flask Template Example</title>
  </head>
  <body>
    <div class="container">
      <p>Result: {{my_string}}</p>
    </div>
  </body>
</html>
By accessing http://localhost:5000/test in the browser, we should see:
Status: Jinja Works
8# - Using Flask shell
$ flask shell
9# - Define a model with SQLAlchemy using SQLite
Create PROJECT_ROOT/app/models.py with the following content:
from flask_sqlalchemy import SQLAlchemy

db = SQLAlchemy()

class User(db.Model):

    id       = db.Column(db.Integer,     primary_key=True)
    user     = db.Column(db.String(64),  unique = True)
    email    = db.Column(db.String(120), unique = True)
    password = db.Column(db.String(500))

    def __init__(self, user, email, password):
        self.user       = user
        self.password   = password
        self.email      = email
Update PROJECT_ROOT/app/config.py with the Database connection string:
class BaseCfg(object):
    SECRET_KEY = 'SuperS3cretKEY_1222'
    DEBUG = False
    TESTING = False

    # This will create a file in <app> FOLDER
    SQLALCHEMY_DATABASE_URI = 'sqlite:///' + os.path.join(basedir, 'db.sqlite3')
    SQLALCHEMY_TRACK_MODIFICATIONS = False
Update PROJECT_ROOT/app/__init__.py to use the model:
from flask_sqlalchemy import SQLAlchemy
...

db = SQLAlchemy  (app) # flask-sqlalchemy
The User tables can be created using flask shell:
$ flask shell
>>> from app import db
>>> db.create_all()
The second method is to create the tables automatically at the first request using a hook provided by Flask.
Update PROJECT_ROOT/app/__init__.py as below:
# Setup database
@app.before_first_request
def initialize_database():
    db.create_all()
10# - List users via Flask shell
$ flask shell
>>> from app.models import User
>>> User.query.all()
# HERE we should see all users
Let's see this theory applied to these open-source Flask samples:
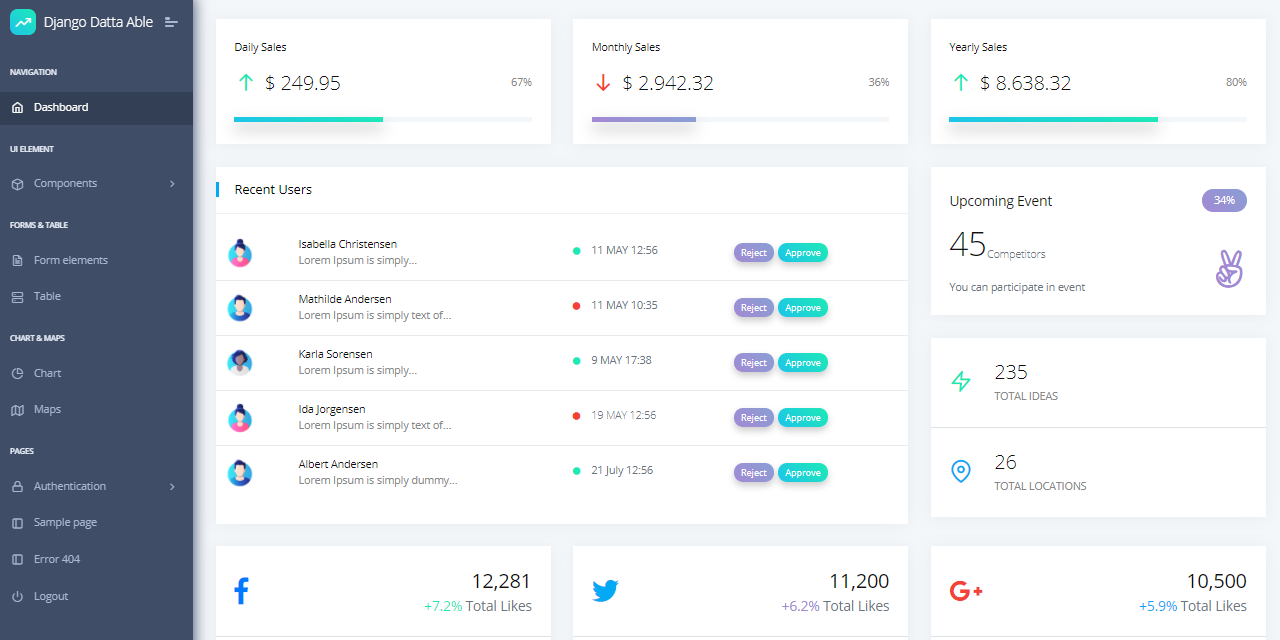
Datta Able Flask
Flask Dashboard generated by the AppSeed platform on top of Datta Able (free version), a modern Bootstrap 4 dashboard template. The Flask codebase is provided with authentication, database, ORM and deployment scripts.
- Flask Datta Able - the product page
- Flask Datta Able - Demo - LIVE Deployment

Flask Volt Bootstrap 5
Open-Source Flask Dashboard coded with basic modules, database, ORM and deployment scripts on top of Volt Dashboard (free version), a modern Bootstrap dashboard design.
Volt is a free and open source Bootstrap 5 Admin Dashboard featuring over 100 components, 11 example pages and 3 customized plugins. Volt does not require jQuery as a dependency meaning that every library and script's are jQuery free.
- Flask Dashboard Volt - product page
- Flask Dashboard Volt - Demo - LIVE deployment

Flask Pixel UI Kit
Open-Source Web App coded in Flask Framework - features:
- UI Kit: Pixel UI kit by Themesberg
- UI-Ready, Jinja2 templating
- SQLite database, Flask-SQLAlchemy ORM
- Session-Based auth flow (login, register)
- Pixel Lite Flask. - product page
- Pixel Lite Flask - LIVE Demo
![]()
Flask Dashboard Argon
Argon Dashboard is built with over 100 individual components, giving you the freedom of choosing and combining. All components can take variations in color, that you can easily modify using SASS files.
You will save a lot of time going from prototyping to full-functional code, because all elements are implemented. This Dashboard is coming with pre-built examples, so the development process is seamless, switching from our pages to the real website is very easy to be done.
- Flask Dashboard Argon - Product page
- Flask Dashboard Argon Demo - LIVE app

Thanks for reading! For more resources please access:
- Flask - the official website
- Flask Docs - the recommended starting point
Thank you! Btw, my (nick) name is Sm0ke and I'm pretty active also on Twitter.
