Black Dashboard - Coded in Flask and Django
Hello Coders,
This article presents two free dashboards coded in Flask and Django on top of an iconic free design. Both starters, Flask Black Dashboard and Django Black Dashboard are published on Github and the permissive (MIT) license allows the usage for unlimited hobby & commercial products. For newcomers, Black Dashboard is a beautiful Bootstrap 4 Admin Dashboard that combines colors that are easy on the eye, spacious cards, beautiful typography, and graphics.
Black Dashboard - Links
- Flask Black Dashboard - product page
- Django Black Dashboard - product page
- Black Dashboard - HTML Version (also free)

Flask Black Dashboard
The project is a simple, unopinionated Flask starter coded with a short-list of modules and deployment scripts for some well-known platforms: Docker, Heroku.
To build the app, Python3 and GIT should be already installed in our workstation. In case you're not sure about your local set up, open a terminal and type python --version. You should see something like:
$ python --version
Python 3.7.2 # <--- All good
GIT is optional but recommended - for newcomers, with GIT we can manage software versioning and we can clone (download) projects directly from Github. For more information on how to set up your environment please access:
- How to set up Python
- Setup CentOS for development
- Setup Ubuntu for development
- Setup Windows for development
Flask Codebase
The Flask version uses a modular codebase with two Blueprints and app-factory pattern to bundle all served resources - the simplified structure:
< PROJECT ROOT >
   |
   |-- app/                      # Implements app logic
   |    |-- base/                # Base Blueprint - handles the authentication
   |    |-- home/                # Home Blueprint - serve UI Kit pages
   |    |
   |   __init__.py               # Initialize the app
   |
   |-- requirements.txt          # Development modules - SQLite storage
   |-- requirements-mysql.txt    # Production modules  - Mysql DMBS
   |-- requirements-pqsql.txt    # Production modules  - PostgreSql DMBS
   |
   |-- .env                      # Inject Configuration via Environment
   |-- config.py                 # Set up the app
   |-- run.py                    # Start the app - WSGI gateway
   |
   |-- ************************************************************************
Flask Codebase - How to compile
To compile and start the app locally, we need to open a terminal window and type a few commnands. Please note that I'm using a simplified set up for a Unix workstation - Full set up is documented in the README file and product documentation.
$ # Get the code
$ git clone https://github.com/app-generator/flask-black-dashboard.git
$ cd flask-black-dashboard
$
$ # Virtualenv set up
$ virtualenv env
$ source env/bin/activate
$
$ # Install modules - SQLite Database
$ pip3 install -r requirements.txt
$
$ # Set the FLASK_APP environment variable
$ export FLASK_APP=run.py
$
$ # Start the application (development mode)
$ flask run
$
$ # Access the dashboard in browser: http://127.0.0.1:5000/
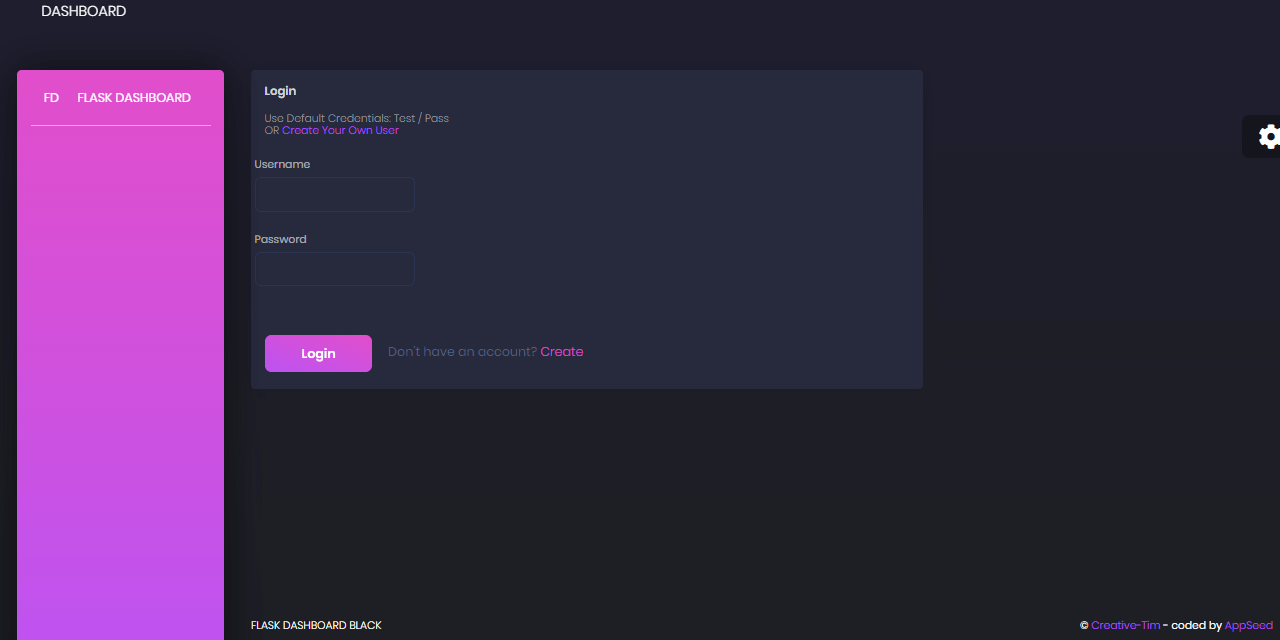
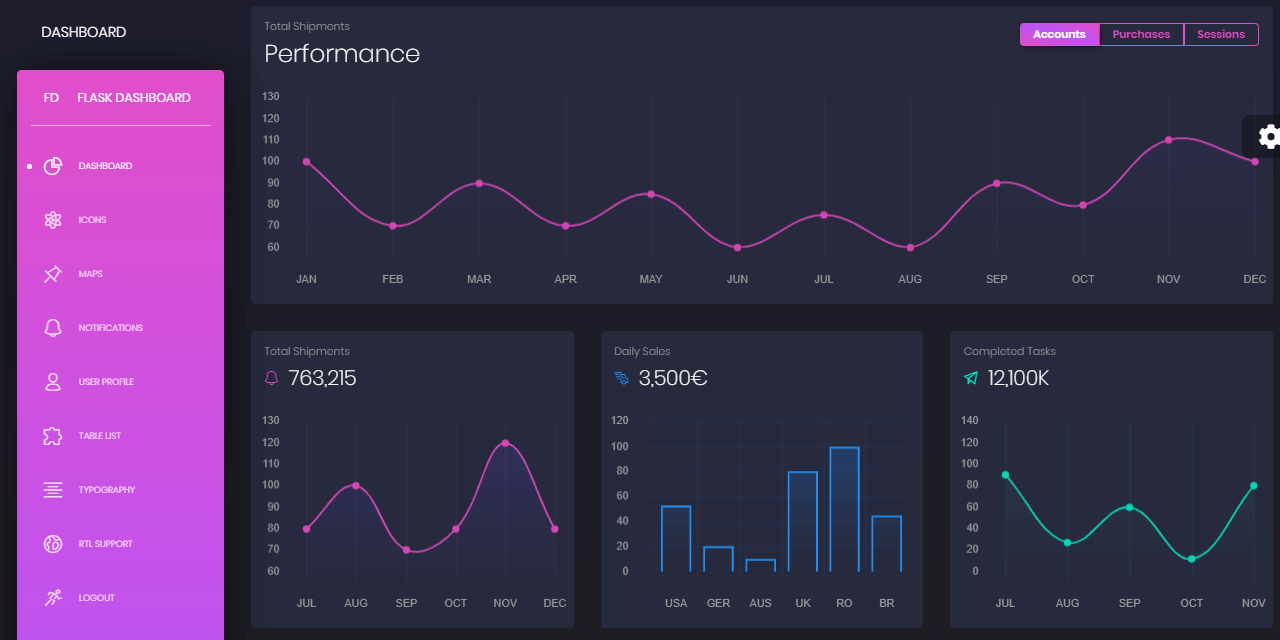
If all goes well, as it should, we can visit the Flask Dashboard Black in our prefered browser. By default, apps route the guests users to the login screen and we need to create a new user first, in order to unlock the private pages.
Black Dashboard Flask - Login Page

Black Dashboard Flask - Dashboard Page

In case of any issues with the set up or app usage, feel free to ask me anything in the comments or join the Discord server for LIVE help.
Black Dashboard Django
Django version is provided with a authentication, super simple codebase and deploy scripts for Docker and Gunicorn/Nginx stack - app features:
- UI Kit: Black Dashboard (Free version)
- UI-Ready app, SQLite Database, Django Native ORM
- Modular design, clean code-base
- Session-Based Authentication, Forms validation
- Deployment scripts: Docker, Gunicorn / Nginx
- Support via Github and 24/7 LIVE on Discord
A simplified version of build instructions are listed below. Full-information is provided in the README file, published on Github or via the reference documentation - Django Dashboard Boilerplate.
$ # Get the code
$ git clone https://github.com/app-generator/django-dashboard-black.git
$ cd django-dashboard-black
$
$ # Virtualenv set up
$ virtualenv env
$ source env/bin/activate
$
$ # Install modules - SQLIte version
$ pip3 install -r requirements.txt
$
$ # Create tables
$ python manage.py makemigrations
$ python manage.py migrate
$
$ # Start the application (development mode)
$ python manage.py runserver # default port 8000
$
$ # Access the web app in browser: http://127.0.0.1:8000/
To unlock the private pages, please register a user first. After autentication, we should see the Black Dashboard pages served in the browser:
Black Dashboard Django - Main Screen

Black Dashboard Django - User Profile Screen

Thanks for reading! Where to go from here, a few suggestions:
- Check out AppSeed for more starters with Black Dashboard design coded in Flask and Django
- See more Admin Dashboards published on Github under permissive licenses (MIT, LGPL).
Black Design - HTML Version
This popular design is crafted by Creative-Tim, and released under the MIT license on Github.
Black Dashboard is a beautiful Bootstrap 4 Admin Dashboard with a huge number of components built to fit together and look amazing. If you are looking for a tool to manage and visualize data about your business, this dashboard is the thing for you. It combines colors that are easy on the eye, spacious cards, beautiful typography, and graphics.
Black Dashboard comes packed with all plugins that you might need inside a project and documentation on how to get started. It is light and easy to use, and also very powerful.
The HTML version is crafted on top of Bootstrap4 Framework and comes with pages for user profile, Google Maps, Icons, typography and RTL support. A minor inconvenience might be that authentication pages are not provided by Creative-Tim.
Thank you! For more resources, please access:
- More Flask Dashboards - a curated index
- More Django Templates - a curated index
